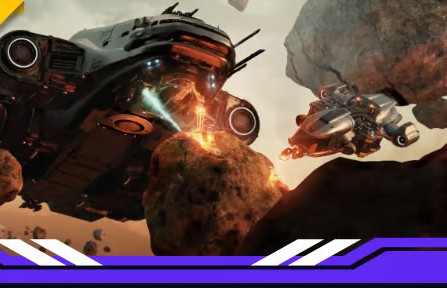
Star Citizen has recently released the Onyx Underground Facilities. This has added a new layer of gameplay where you will find elements like exploration, combat, environmental hazards, and puzzle-solving. These facilities are spread across Stanton’s moons, and you will be challenged with difficult missions, elite enemies, and data-retrieval contracts. These are very different from the old small bunkers that you have been used to so far.
In this guide we will talk about the overview of Onyx facilities, how you can complete different contracts, and what rewards you can get, in order to maximize your efficiency in the game. However, before starting out, make sure you stock up on currency since you will need those for upgrades. You will have to use Star Citizen aUEC for buying and upgrading your gear and equipment if you want to easily survive through the forces in the missions.
Onyx Facilities Overview
There are currently over 100 Onyx Subsurface Developments (ASD) underground facilities scattered across Stanton’s moons. Unlike surface bunkers, these locations can only be accessed by landing in a large underground hangar.
Inside these facilities, there are a lot of things for you to discover like:
- Elite enemy troops, including Sterling suit specialists.
- Irradiated animals that add unpredictable danger.
- Environmental hazards, including radiation pulses, pipes, vents, and puzzle-like navigation challenges.
- Loot opportunities, such as the Volt Sniper S-Geist armor found at certain racks and lockers.
To unlock the full set of missions inside these facilities you first have to complete PIM1/introductory contracts. After that you will be able to access both mercenary missions and haul/data delivery missions.
Story and Investigations
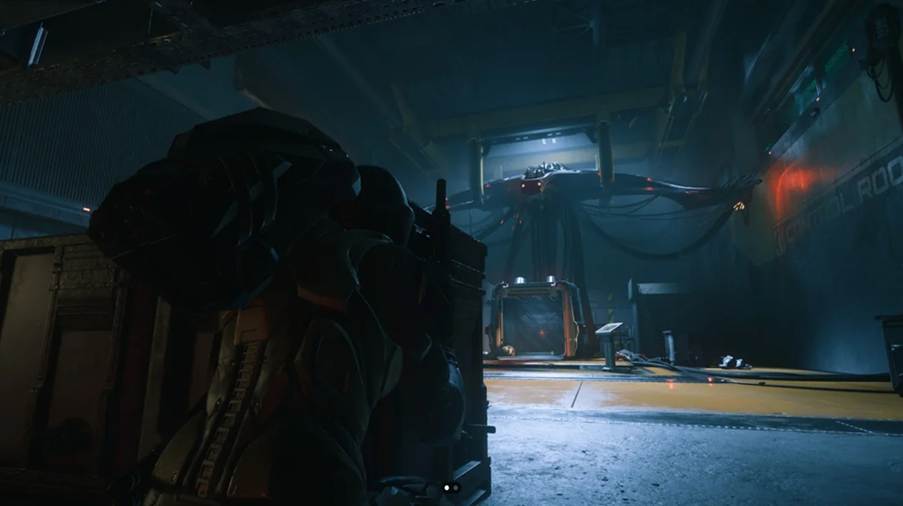
The narrative backbone of the Onyx Facilities involves the Hockrow Agency investigating Dr. Jorrit’s former labs. The agency is gathering evidence and compiling a case file based on data left inside these facilities. In each mission you will have to recover items like voice recordings, server blades, or power logs that reveal fragments of what happened inside these research centers.
Contract Phases and Missions
Contracts are divided into two main phases. In Phase 1 missions you will have to focus mainly on the setting and layout of these facilities. In Phase 2 missions the difficulty level increases because of added environmental hazards, timed sections, and tougher enemy encounters.
Phase 1: Personnel and Research Files
P1M1 – Personnel Files
- This is your first contract and it does not give you a direct marker. So you will have to navigate to the correct Onyx facility on your own.
- Enter through the hangar and reach the engineering level.
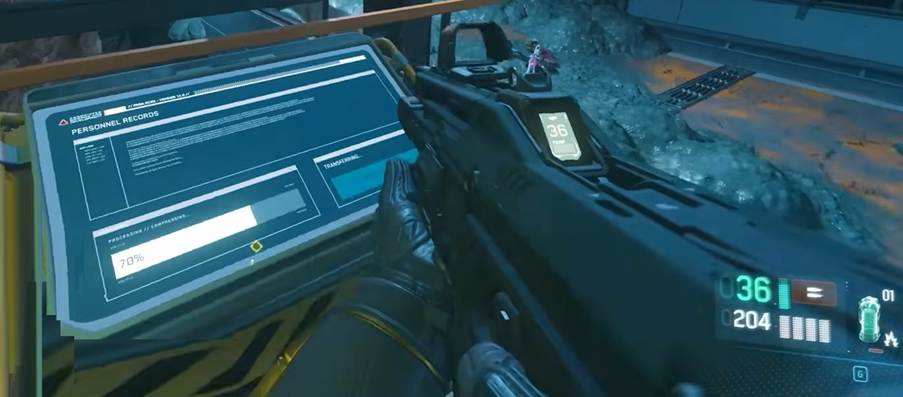
- From the first terminals, download personnel data.
- Move into the research wing to complete the objective.
P1M2 – Engineering Files
- Proceed deeper into engineering, crossing a “point of no return.”
- Pass through the pipes section into a warehouse.
- A voice recorder is hidden inside a locker here.
- Finally exit through the vent system to pass a Volt Sniper weapon rack.
P1M3 – Research Files
- Come down to Research Level 7 (Analytics).
- Find the drop shaft and move toward the research labs.
- A voice recorder is hidden inside a security room locker.
- In the next chamber you will find three weapon racks.
- Go to the drop shaft, then move down again to find a hidden exit path.
Phase 2: Advanced Data Retrieval
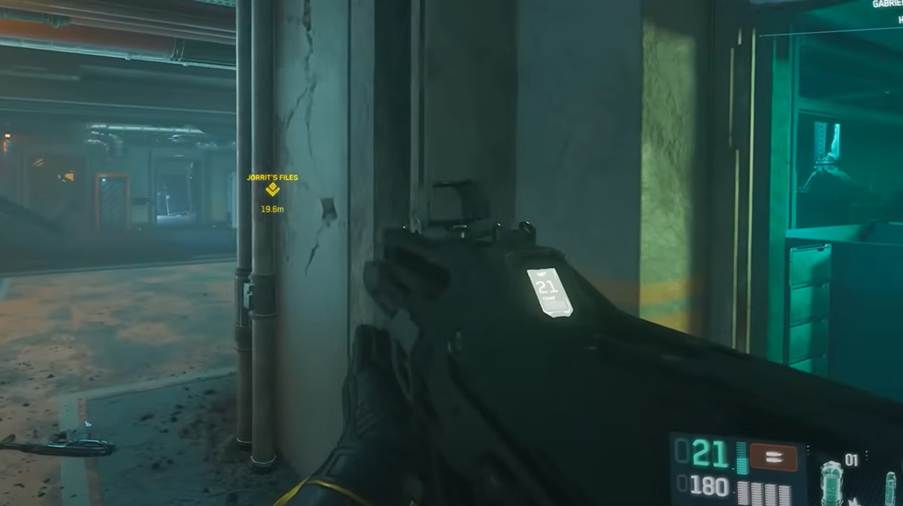
P2M1 – Energy Anomaly Data
- Go to the condenser area.
- Find a random terminal and use it to download anomaly data.
- You can print tools like multi-tool, Cambio SRT module, and canisters at nearby maintenance kiosks.
- Next you have to repair a damaged pipe near the terminal to complete the download.
- Once you have secured the data, deliver it to a low orbit station freight elevator.
P2M2 – Security Data
- Go down to Level 6 (Xenotechnology).
- Move toward the office space left of the main blade structure.
- Here you will find elite NPC’s quick reaction force that will spawn on the opposite balcony.
- Retrieve a blank data drive from a desk.
- Insert it into a terminal, stay there until the transfer finishes, then recover the drive.
- Leave through the same hidden shaft sprint path used in P1M3.
- Deliver the drive to a low orbit station.
P2M3 – Seismic Data
- Enter Research Level 6 (Xenotechnology).
- Go to the energy laboratories. On your way you will have to pass the drop shaft.
- Collect a server blade from the Zero-G area.
- Return to an office, insert the blade into a rack, and write seismic data onto it.
- If you can’t open the door, use the right-hand vent instead and climb out.
- Deliver the completed blade to a low orbit station.
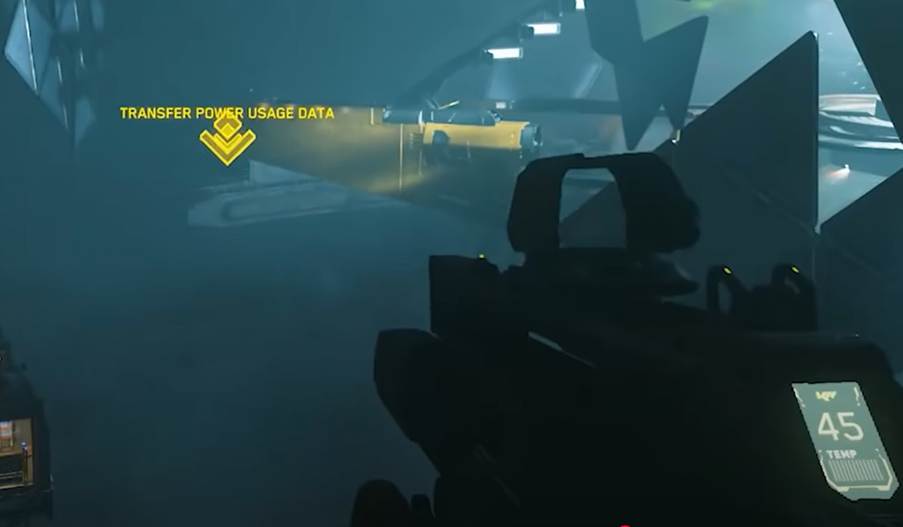
P2M4 – Power Usage Data
- Go to the control room located on the right side of engineering.
- Upload power data at a designated terminal.
- Retrieve another server blade from a random spot in the next room.
- Go to the fuel reactor zone. Stay alert of radiation pulses every 30 seconds. To avoid them, use barriers while you cross the platform.
- You will have to go through a dangerous parkour path into the reactor core.
- Here, four Sterling elite enemies spawn on each of six platforms. Defeat them or avoid them if possible.
- At the end of the Gamma Arm, rewrite the blade.
- Leave through the bulkhead doors beneath the ASD logo.
Rewards
Here are the rewards that you will get after completing these missions:
- Standard credits from mission payouts.
- Unique loot such as the Volt Sniper S-Geist armor and high-tier weapon racks.
- Data drives and server blades that you can sell for currency or reputation.
- Repeatable contracts that unlock after finishing Phase 2. This will allow you to grind rewards without replaying the intro missions.
Most of these rewards will be useful in the late game. However, you can use the standard credits to buy Star Citizen ships, vehicles, services, weapons, and many more.
Challenges and Hazards
The Onyx Facilities introduce more dynamic and punishing hazards compared to older missions. You have to be prepared to face some very difficult and challenging forces:
- Elite enemy AI, including squads equipped with heavy armor and advanced tactics.
- Environmental dangers, such as radiation zones and timed pulses.
- Navigation puzzles, requiring vent climbing, shaft sprints, and pipe crossings.
- Limited exit routes, which often force you back through dangerous areas.
Because of these mechanics you will need proper teamwork, preparation, and customized loadouts.
Future Updates
The Onyx Facilities in patch 4.3 are just the beginning. Patch 4.3.1 is expected to expand these missions further, introducing a large puzzle wing and additional content tied to Dr. Jorrit’s story.
Conclusion
The Star Citizen Onyx Facilities challenge you with danger and reward. With preparation and smart play, you can succeed, gather loot, and enjoy everything these unique missions offer.