The Still Image side mission is one of the trickier collection tasks in Control Resonant. In total you have to track down and deactivate 14 cameras, spread across all seven areas, each with two locations. The catch: The cameras aren’t allowed to discover you. As soon as you are seen, time freezes and the camera disappears. In our solution we show you where you can find all the cameras and how to deactivate them.
To deactivate the cameras, you always have to find a way to sneak up from behind. Often via hidden routes, rooftops, elevators or alternative entrances. So that you can reach all places, you have to do it beforehand The following skills are unlocked in the “Search for Jesse” main missions have:
- Gravitational shift
- Grab
- Smash
- Ignite or Inferno (unlocks after Resonant boss fight in Central)
None of the cameras are missable. You can still collect all cameras in free play after the story. Completing the quest also counts as a partial requirement for the “Panopticon Intern” trophy.
As soon as you approach a camera, it will appear as an icon on the map. Your task is always the same: get behind the camera without being discovered. If you are seen, the camera disappears immediately. Then simply move away from the area until you hear a clear clicking noise. This signals that the Camera reset and you can try again.
On the following pages we will show you the exact routes to each of the 14 cameras in videos and guides.
Camera #1 (Downtown)
» Watch video: Control Resonant: Camera #1 (Downtown)
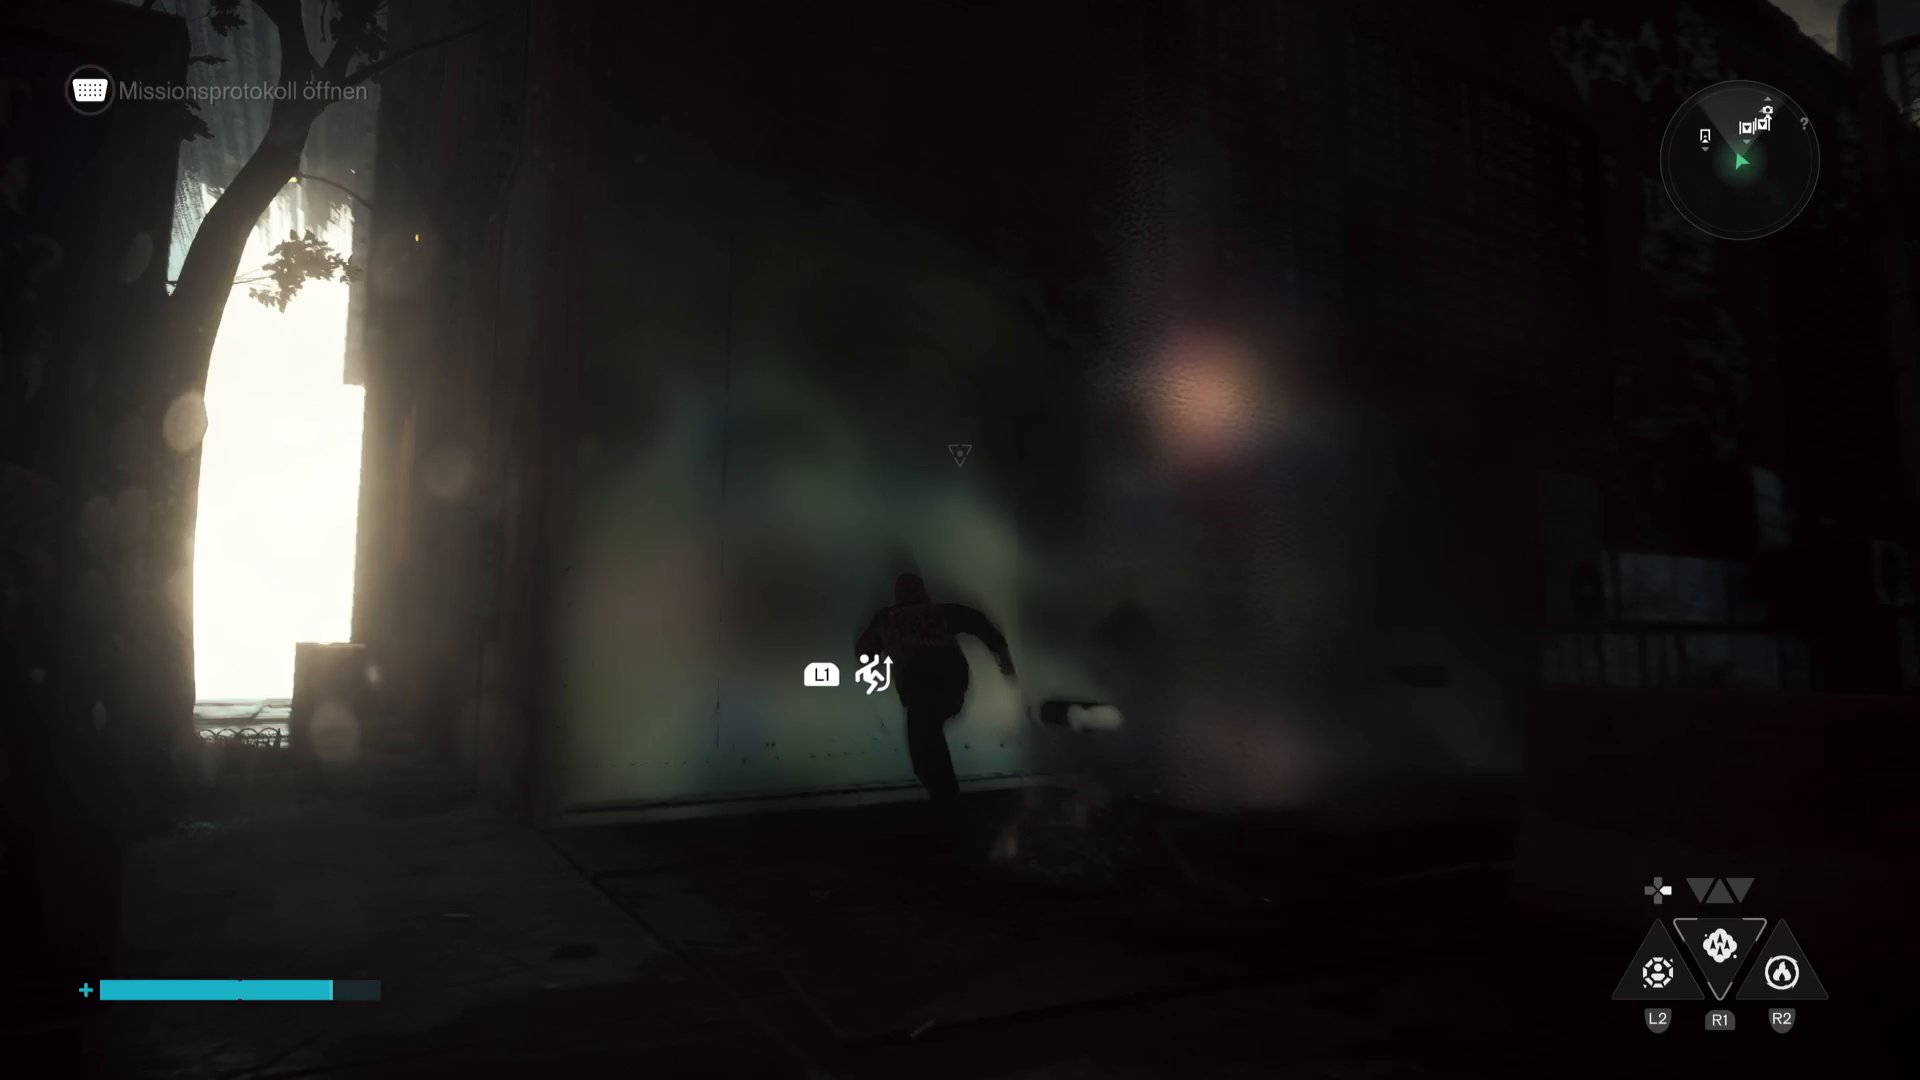
The first camera is underneath a roof. Use the smashto break through the roof. Approach from the street northwest of the camera and use Gravity Shift to run up the side of the building. This is how you get to the roof without being seen.
Camera #2 (Downtown)
» Watch video: Control Resonant: Camera #2 (Downtown)
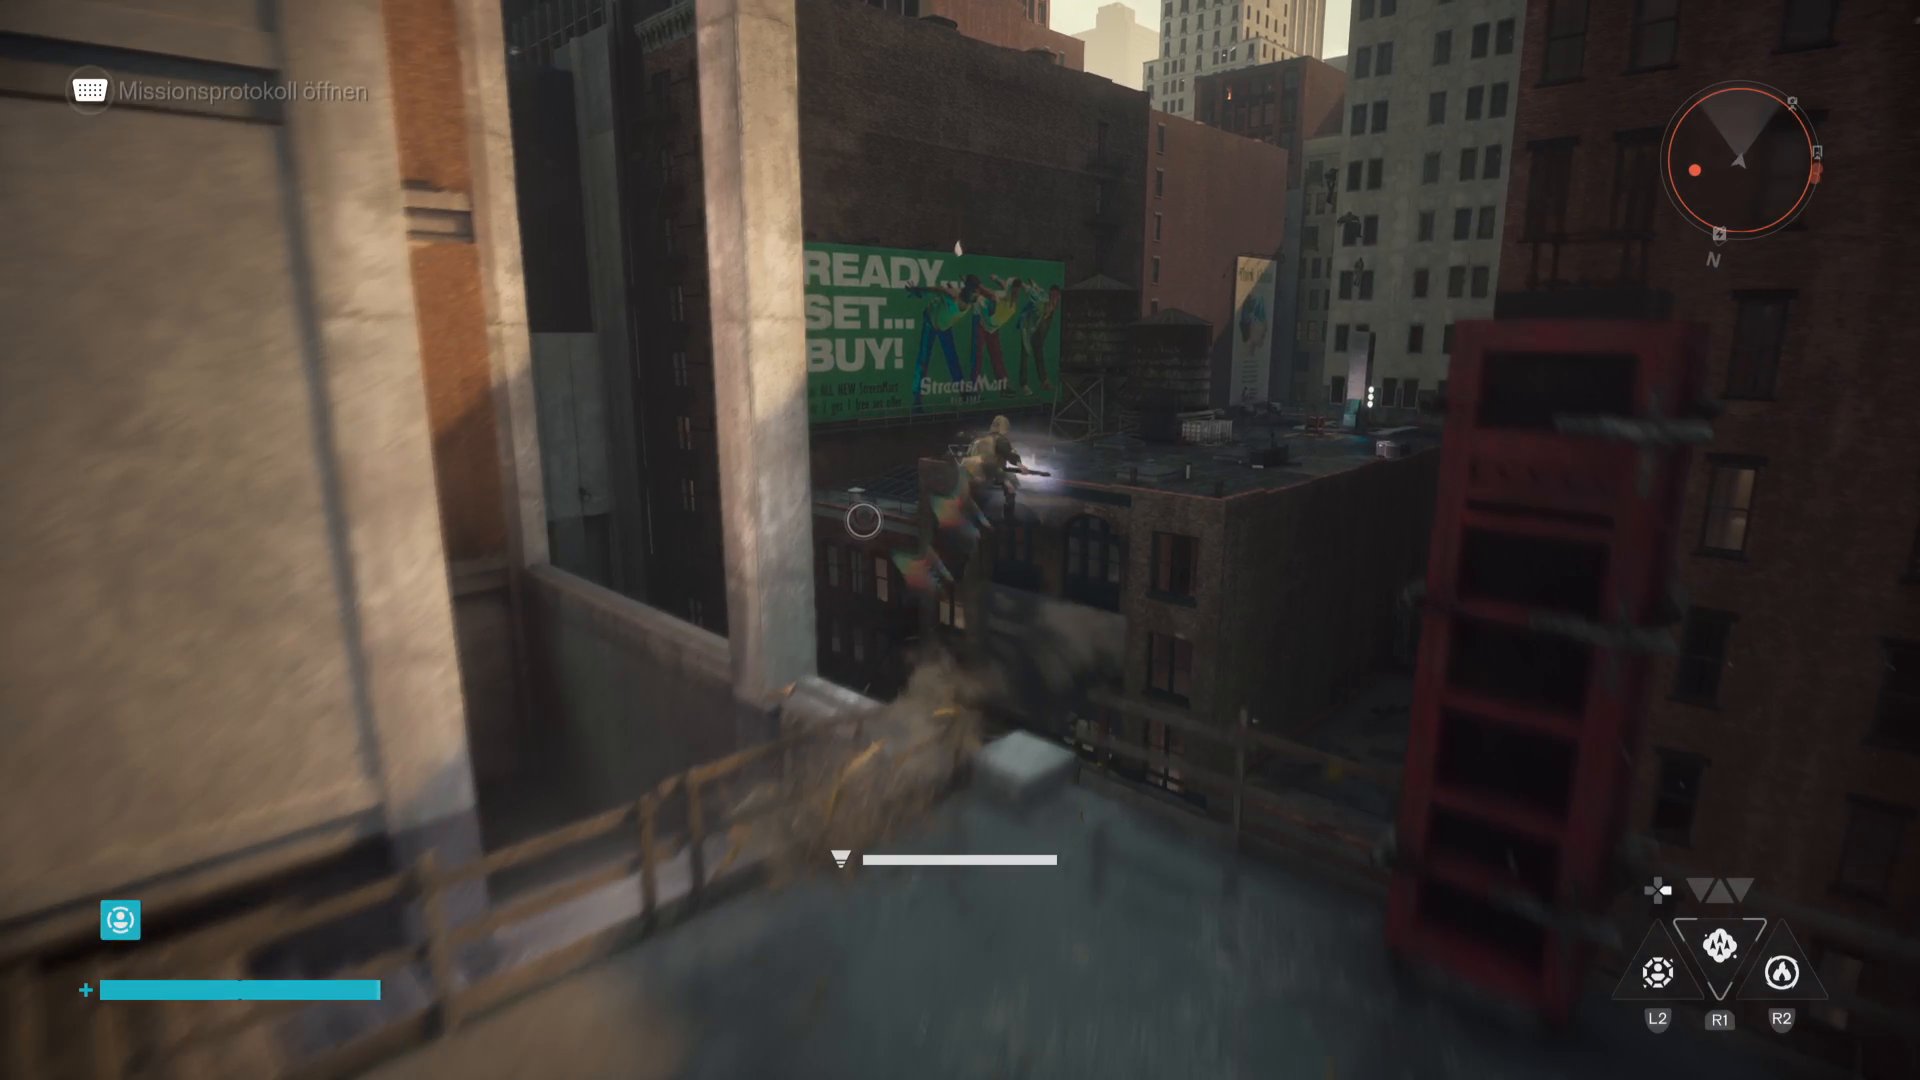
Here you first have to supply power to a door behind the camera. You can find the electricity you need in the Energy core station north of the camera. First carry the energy to the roof northeast of the camera and from there to the door behind the camera. You can then use the back entrance and deactivate the camera.
Camera #3 (Central)
» Watch video: Control Resonant: Camera #3 (Central)
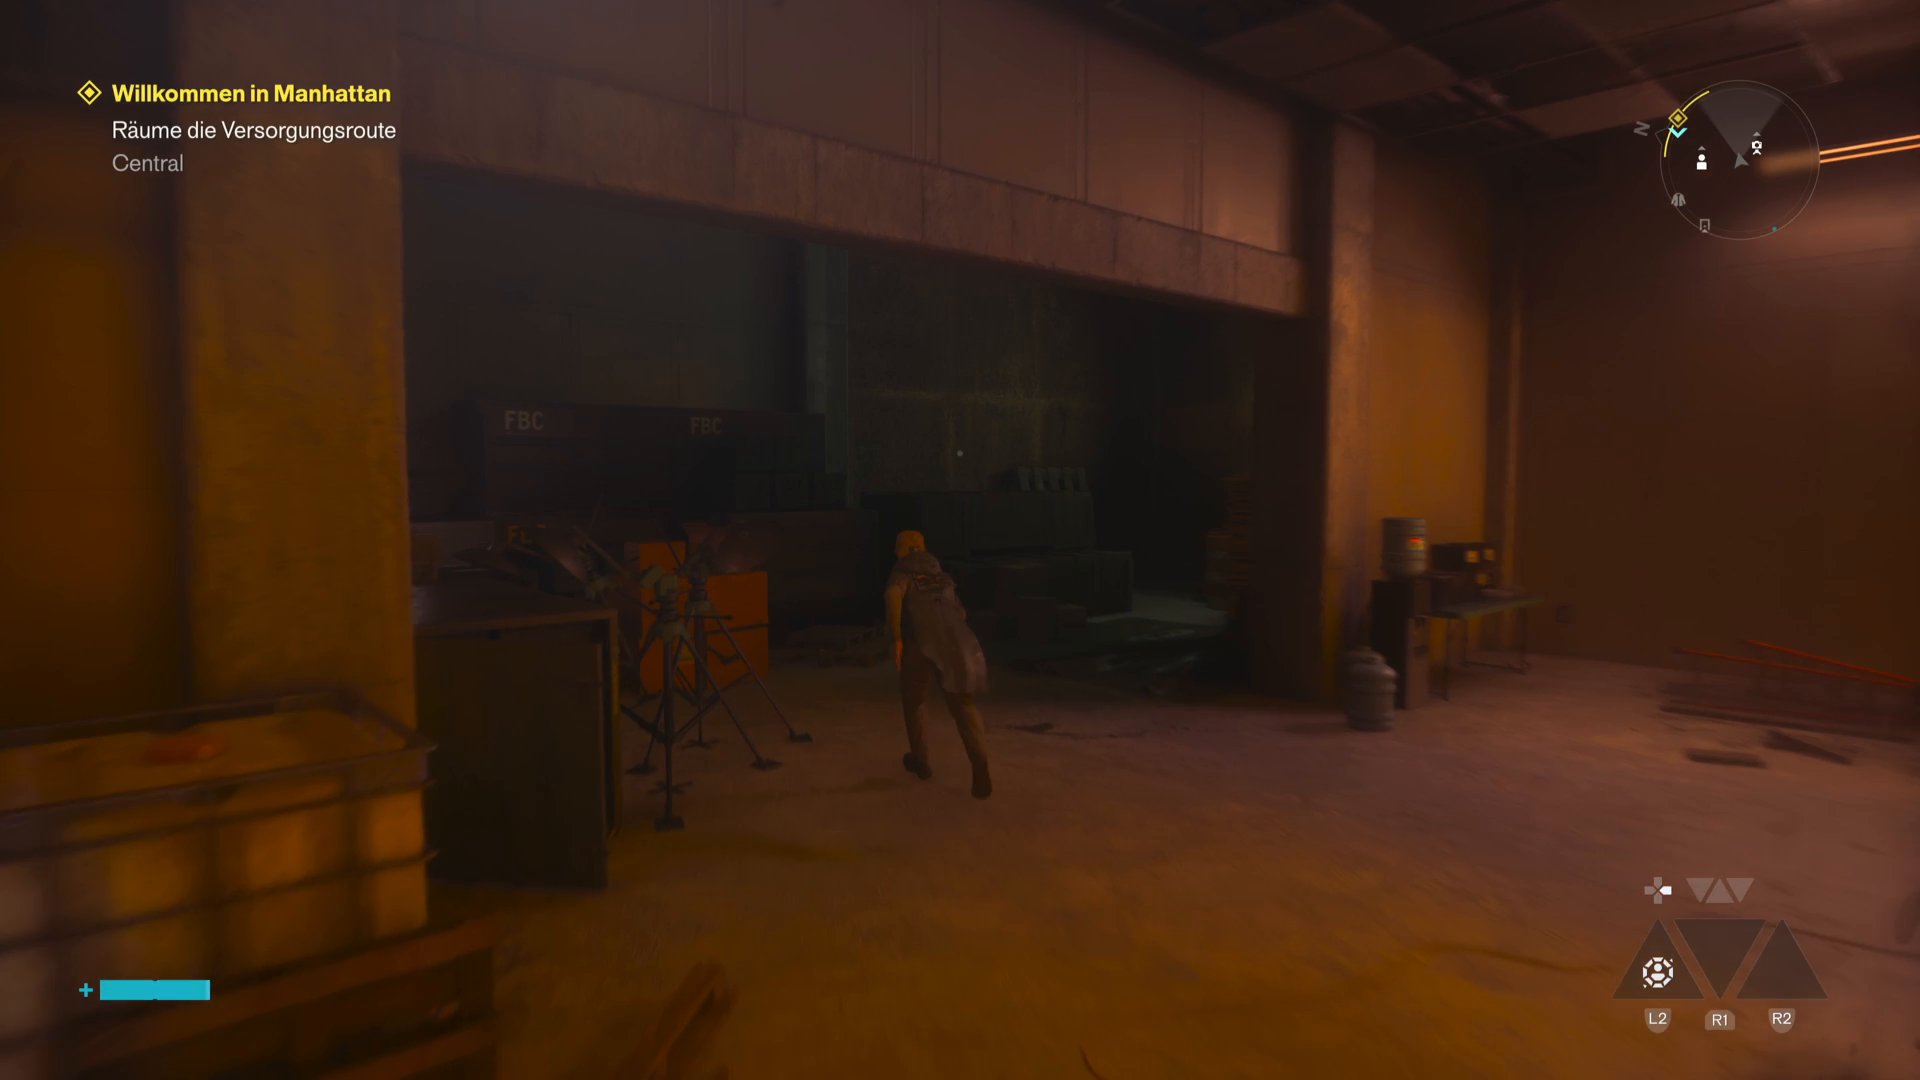
Starts at Watchtower fast travel point where Zoe is. Go all the way down and enter the open storage room on the side. There are scaffolding leading up there. Shortly before you would get directly to the camera, you would discover a hole in the ceiling. Climb through and drop down behind the camera to deactivate it.
Camera #4 (Central)
» Watch video: Control Resonant: Camera #4 (Central)
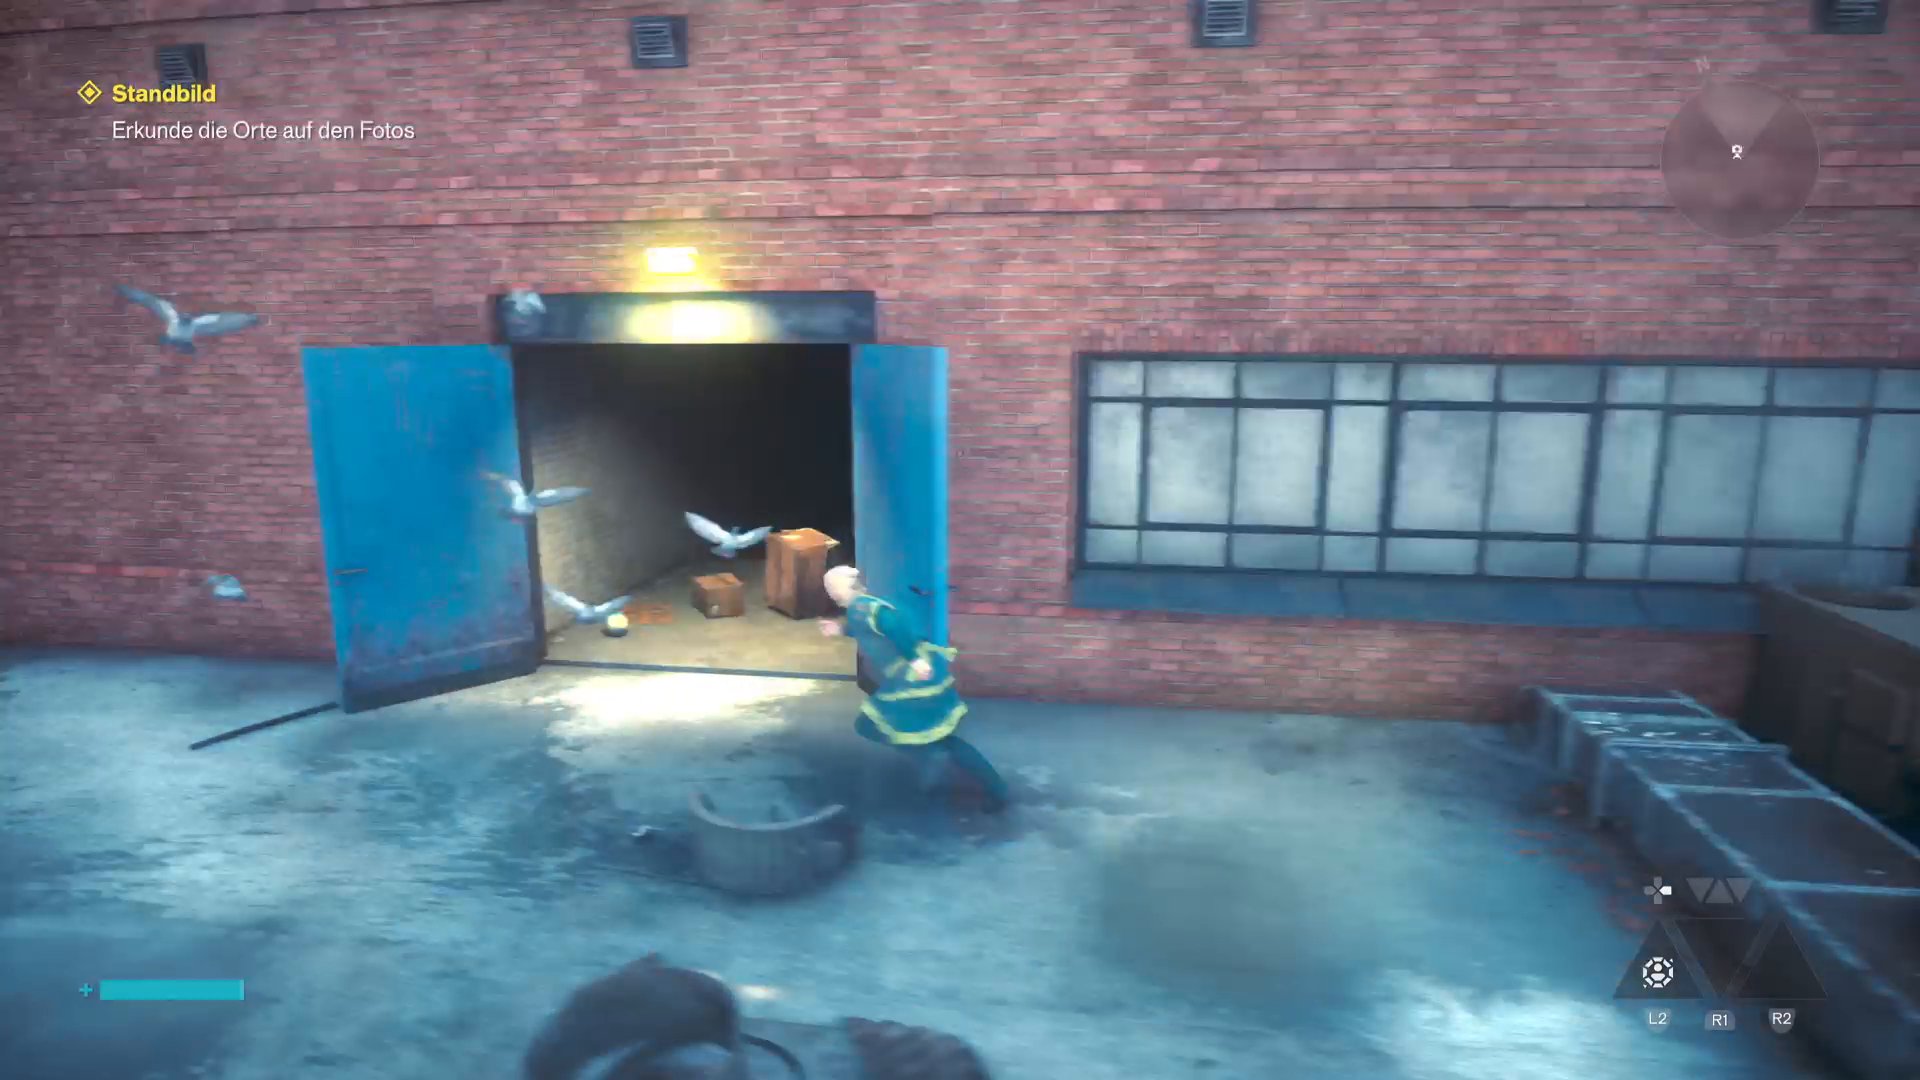
This camera is on a roof behind an open door. To do this you need the “grab” ability. First, go straight through the door and intentionally allow yourself to be discovered. Then go down into the building and open the locked door on the ground floor. Leave the building briefly until you hear the clicking noise. Now you can go back through the open door and use the stairwell to get behind the camera.
Camera #5 (Western Incursion Zone)
» Watch video: Control Resonant: Camera #5 (Western Incursion Zone)
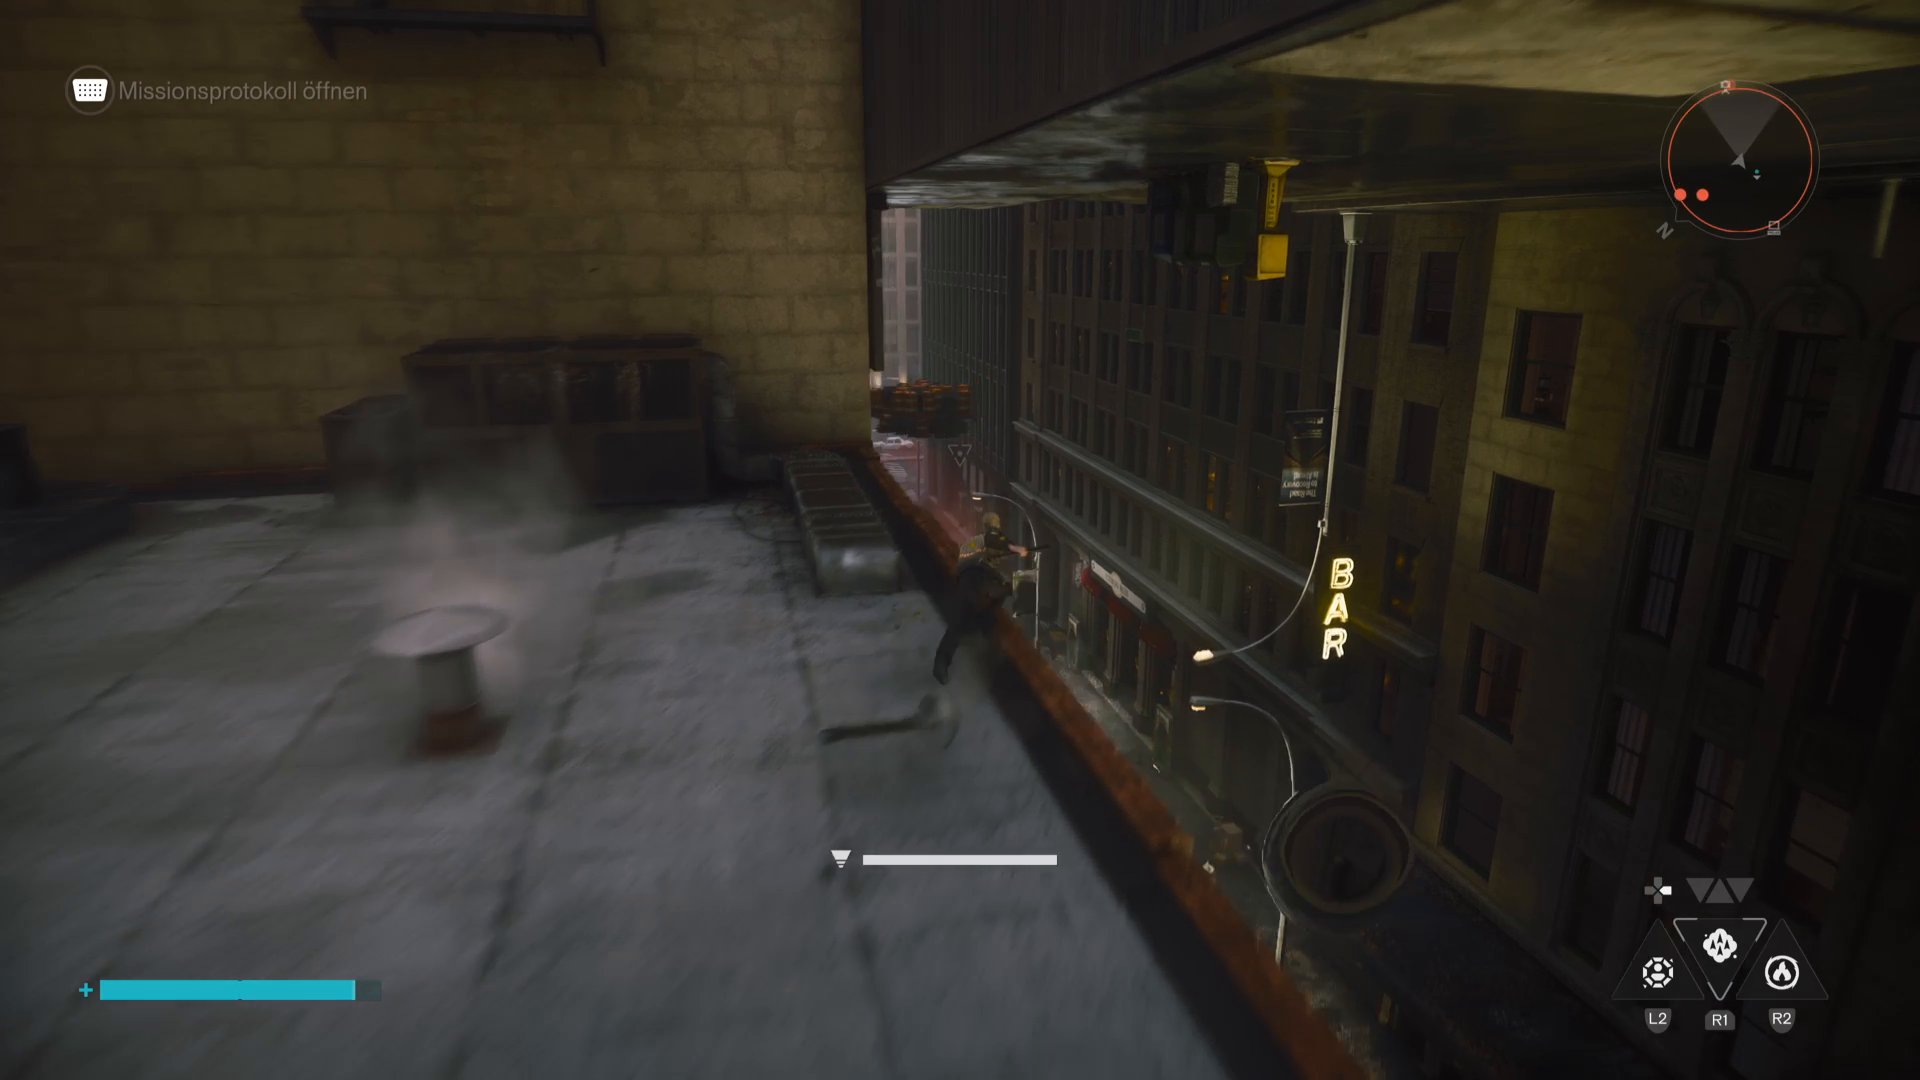
The camera hangs on the side of a building. You reach them via floating platforms. Use the one at the end of the street west of the camera Gravitational shift. Then jump to the floating platform with gravity inverted. During the jump, gravity returns to normal and you land on the platform. A second platform will then appear that will take you directly to the camera.
Camera #6 (Western Incursion Zone)
» Watch video: Control Resonant: Camera #6 (Western Incursion Zone)
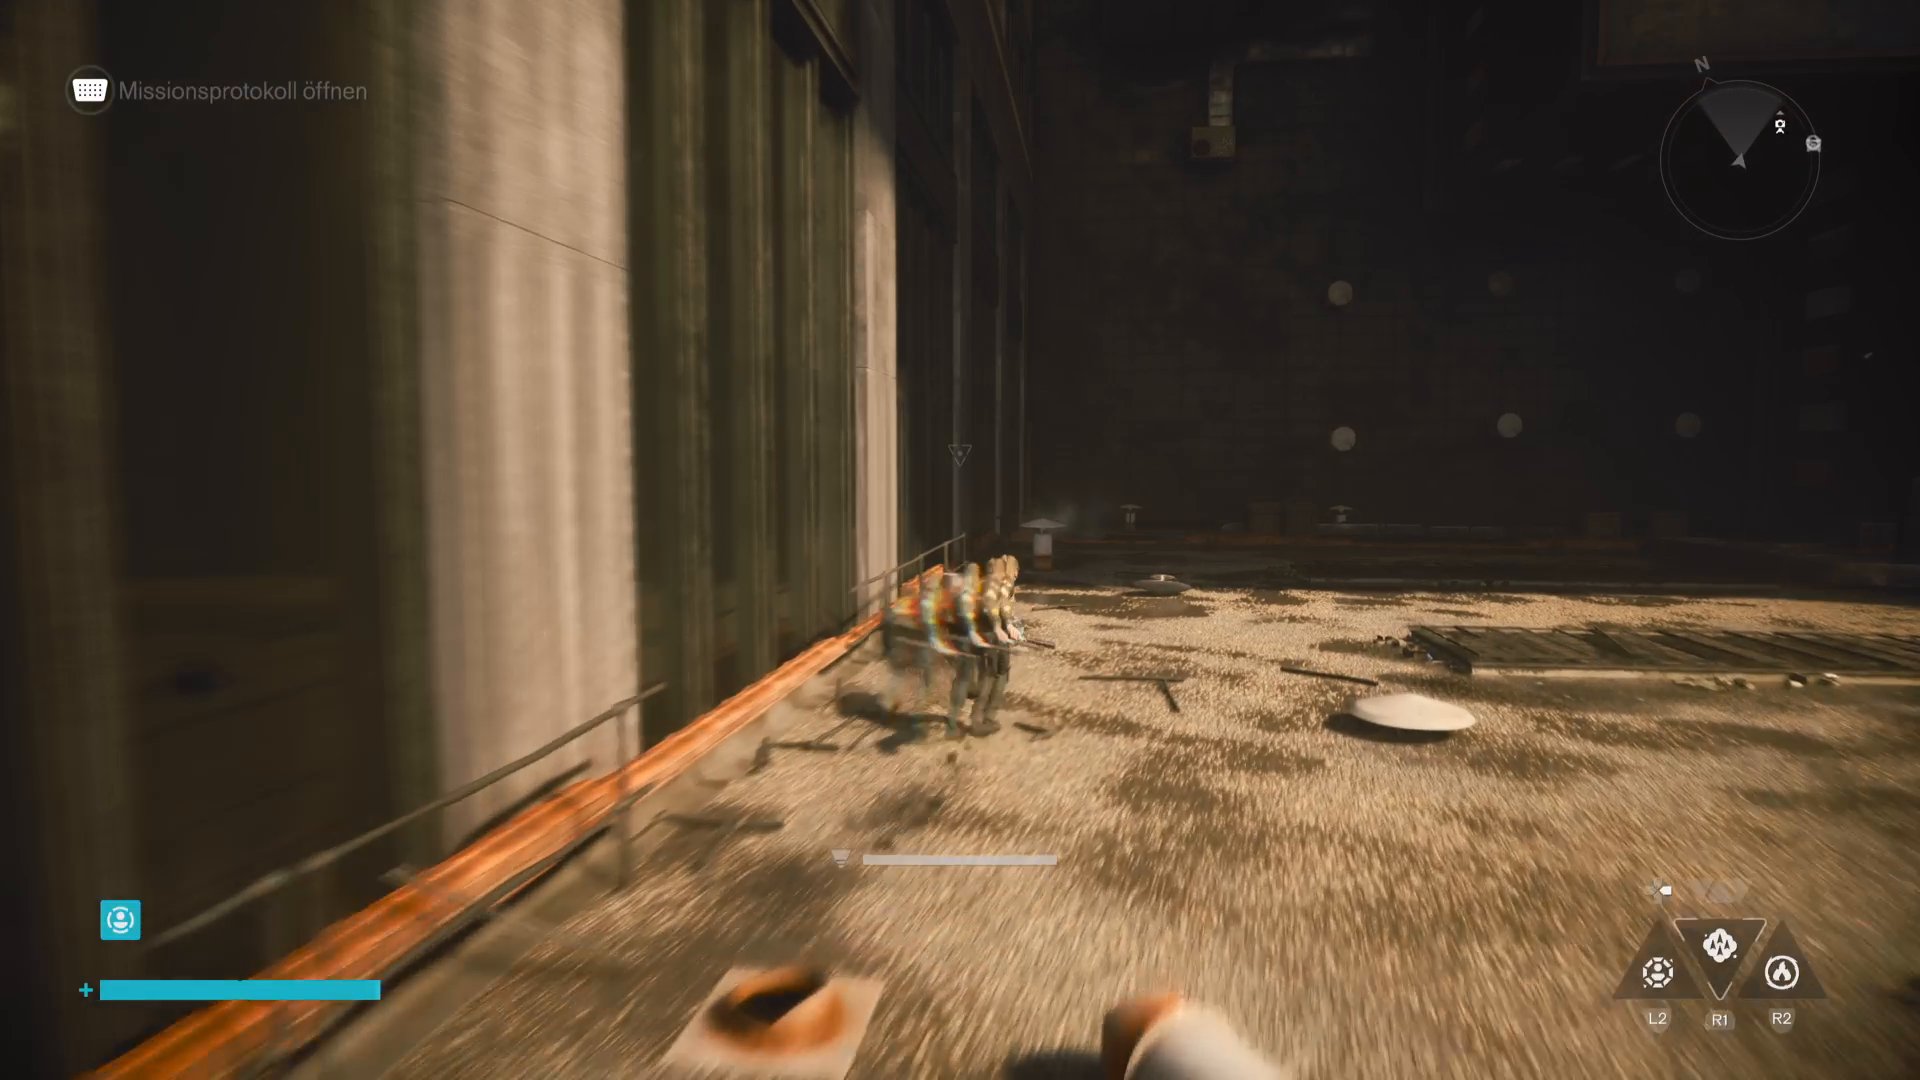
This camera is located in the far northwest of the zone on a sideways building. Pay attention to the red light of the camera as it is somewhat hidden. To get there unseen, you have to drop from a higher roof directly onto the camera. For this you need “Grab”to even reach the upper roof.
Camera #7 (Evacuation Zone)
» Watch video: Control Resonant: Camera #7 (Evacuation Zone)
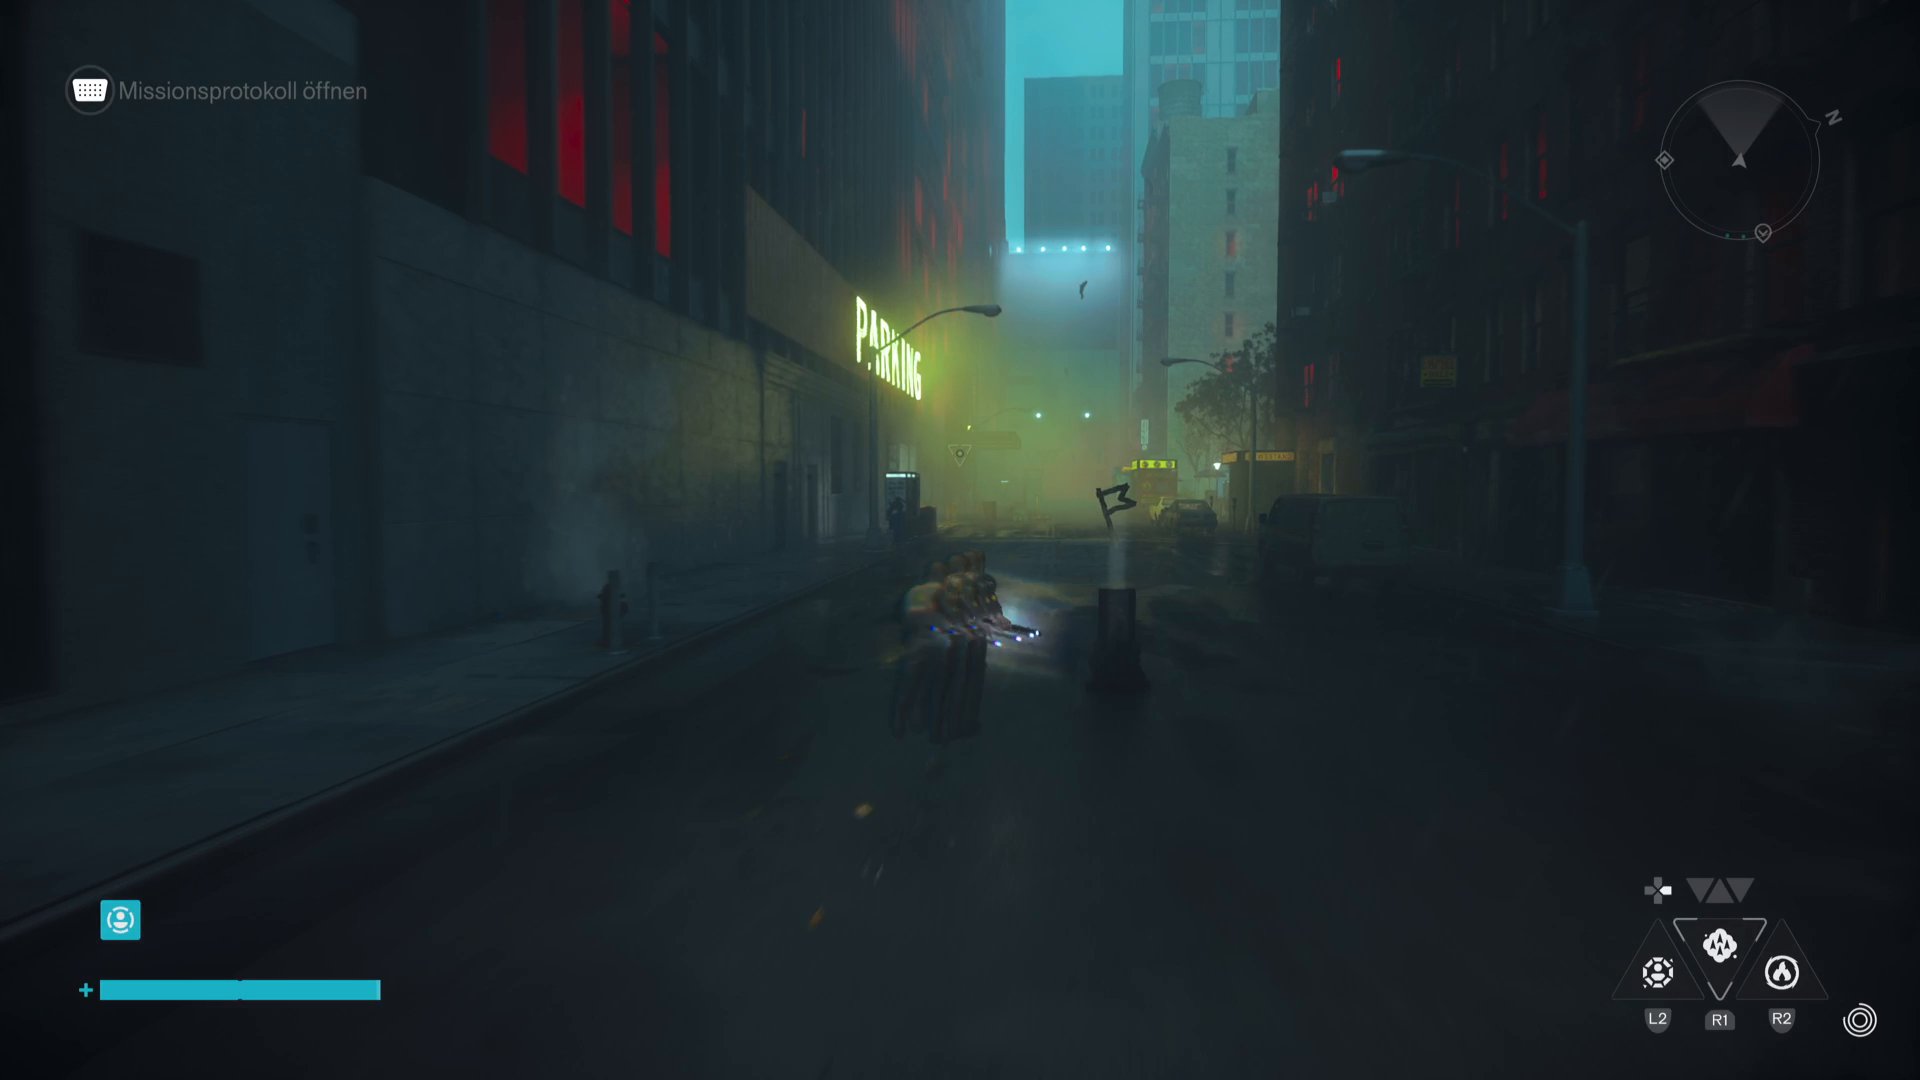
Here, too, the route leads via the power supply. The camera is on a roof with a door behind it. You get the electricity in the southeast corner of the evacuation zone near the Energy Core Station. Then follow the road west. On the way you have to activate two electrical boxes to pass on the electricity. Then use “grab” to get to the roof and activate the power cube behind the camera.
Camera #8 (Evacuation Zone)
» Watch video: Control Resonant: Camera #8 (Evacuation Zone)
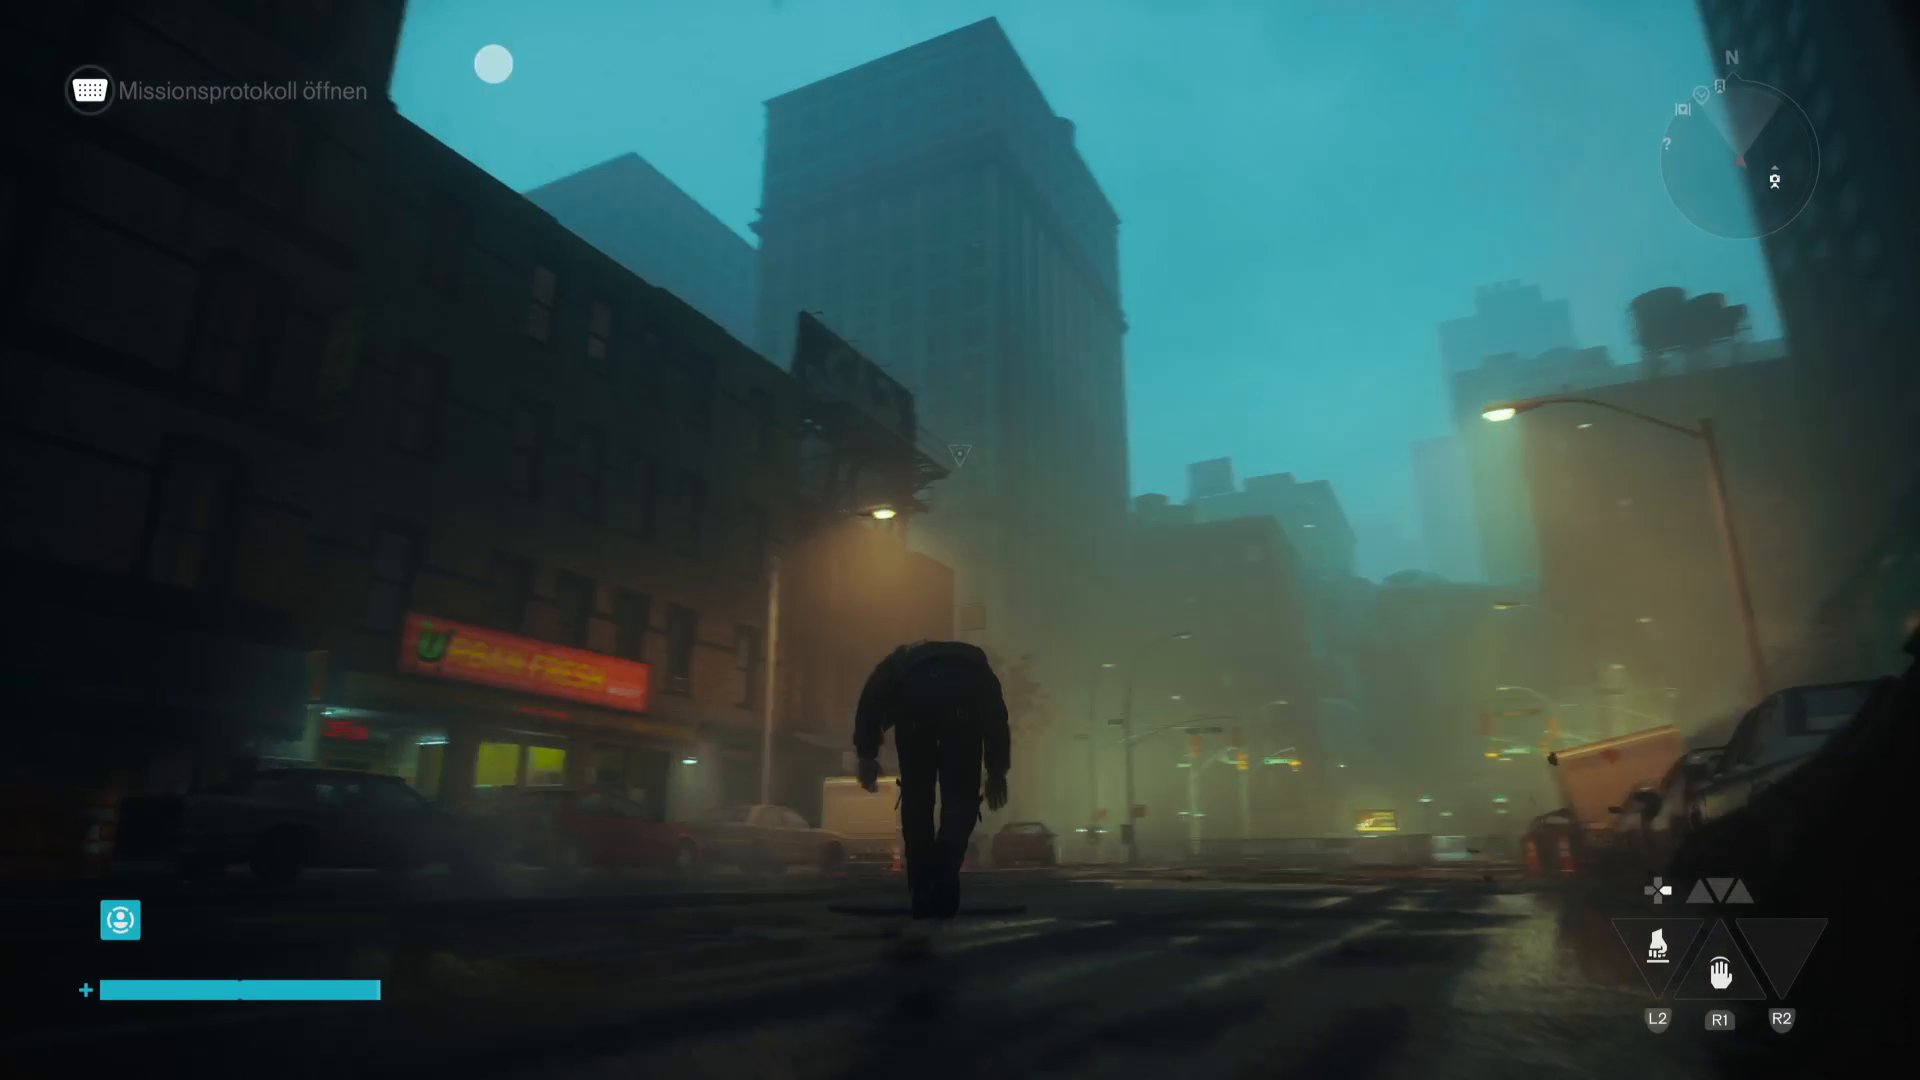
Let yourself be discovered first and then goes into the building behind the camera. Take the elevator down and leave the building. As soon as you hear the clicking noise, the camera has reset. Now take the elevator up again and this time sneak up on the camera from behind.
Camera #9 (The Park)
» Watch video: Control Resonant: Camera #9 (The Park)
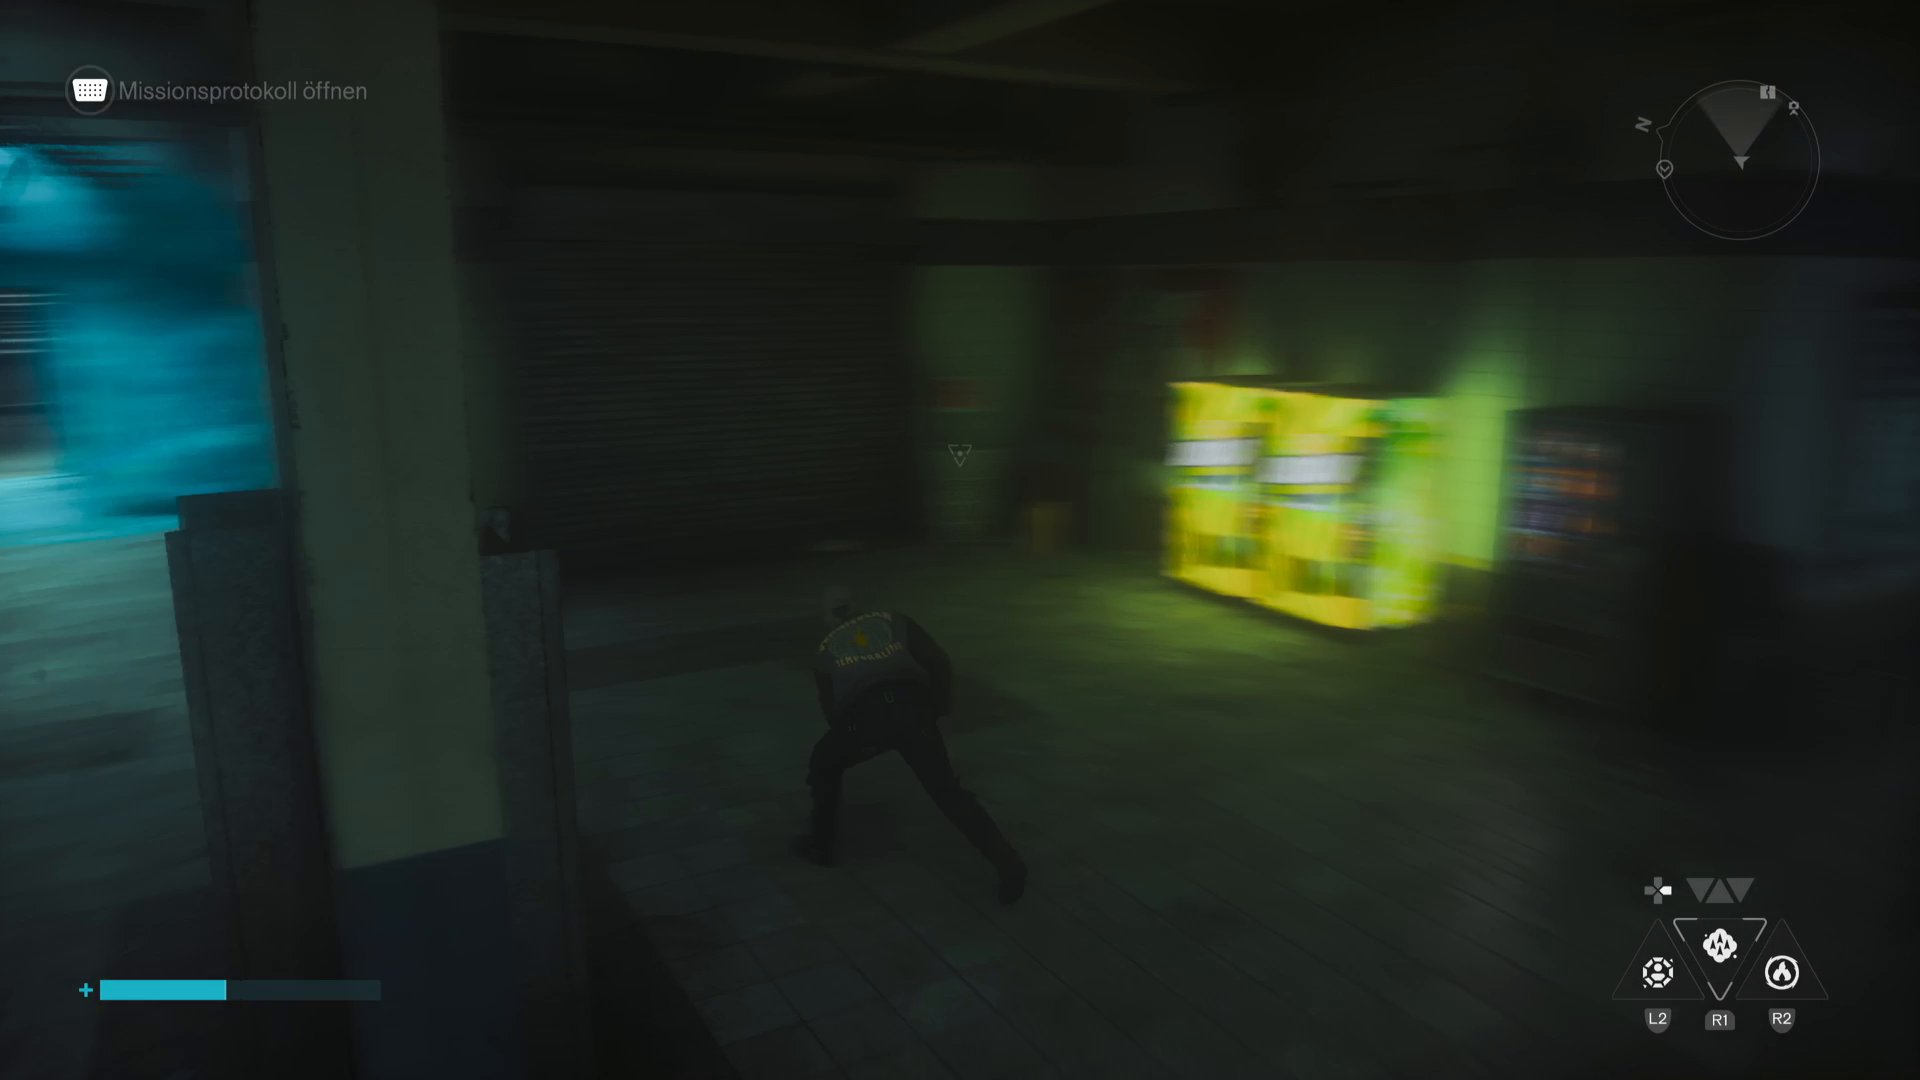
This camera is located in the Nomand Avenue Station subway station. As soon as you enter the area, the camera automatically detects you. Then go left until you reach a wall blocked with cobwebs. Burn the barrier with it “Ignite” or “Inferno”. Behind it the path leads directly behind the camera.
Camera #10 (The Park)
» Watch video: Control Resonant: Camera #10 (The Park)
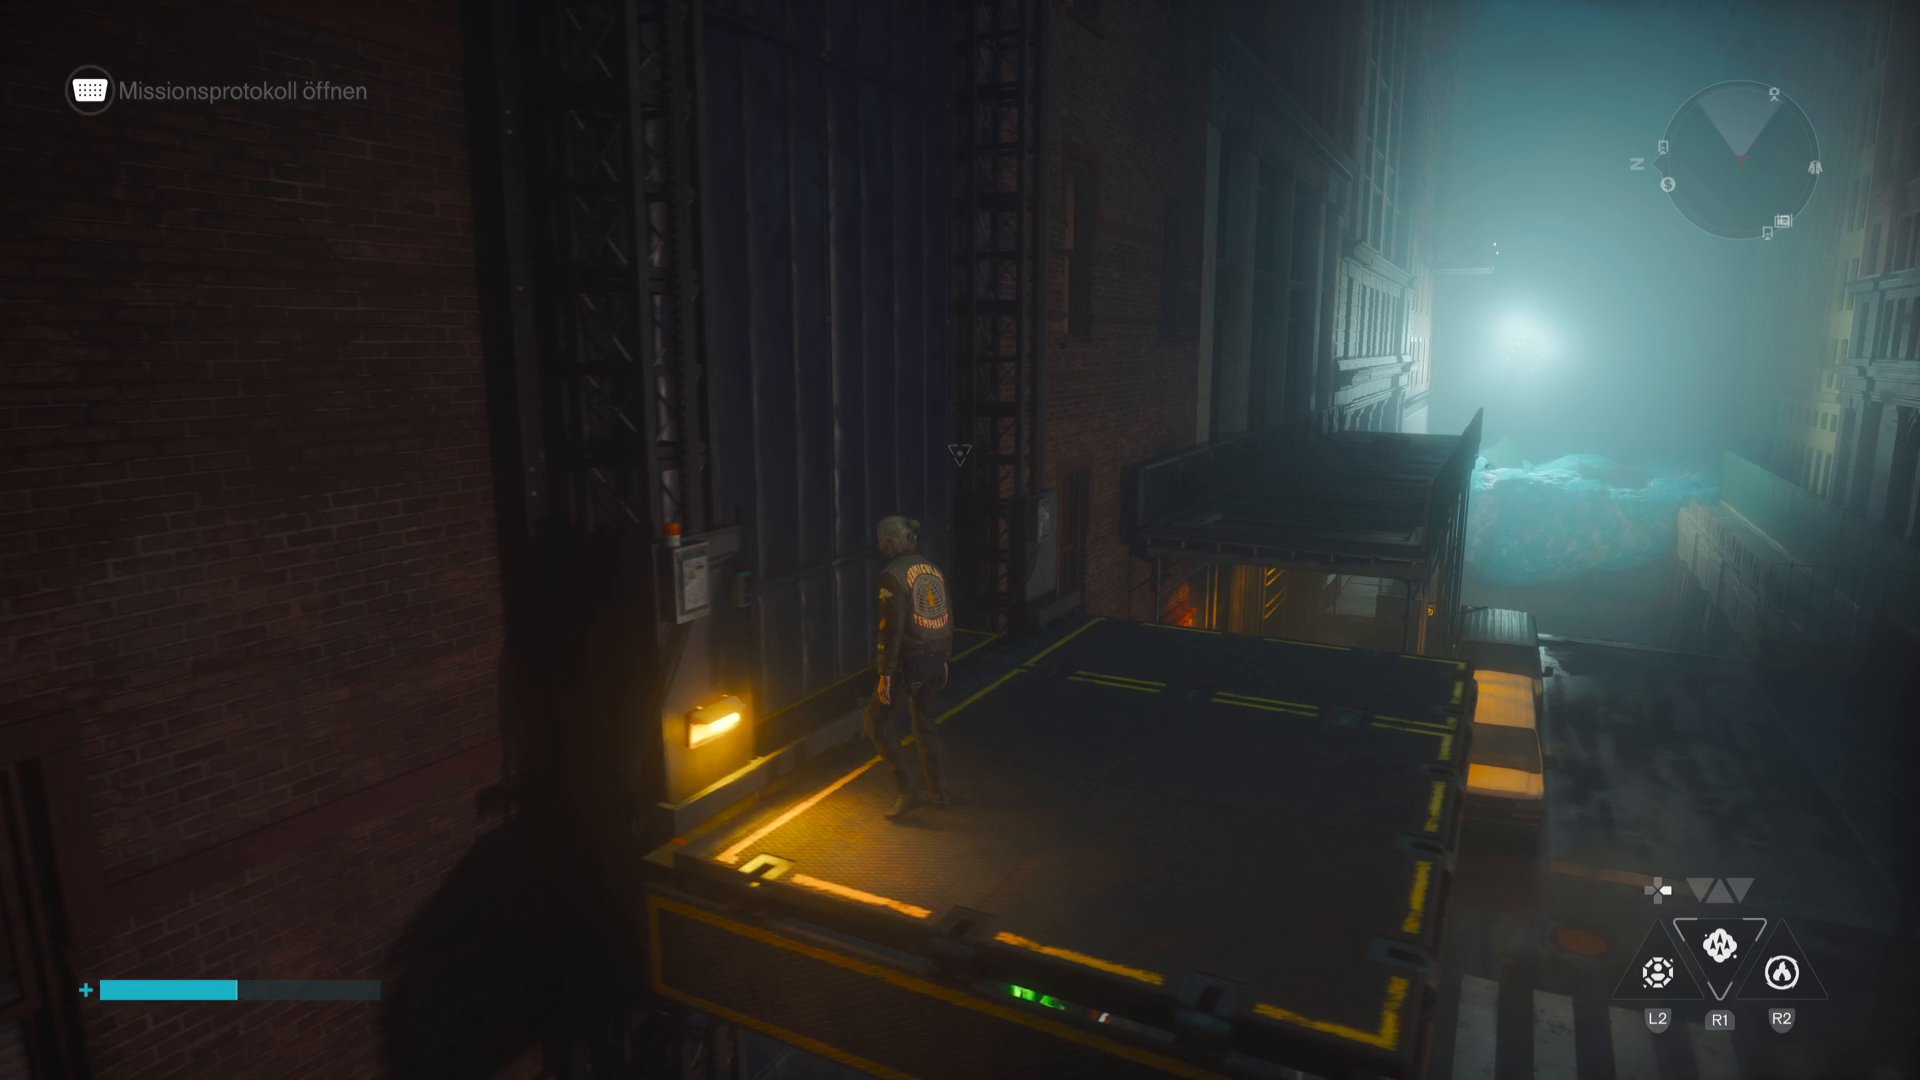
The camera stands on a platform above a canal entrance. To get up you have to have one Power the elevator. The elevator is to the west of the camera, the energy source can be found south of it at an electrical cube. Activate the elevator, go up and jump from there to the camera platform.
Camera #11 (Underpass)
» Watch video: Control Resonant: Camera #11 (Underpass)
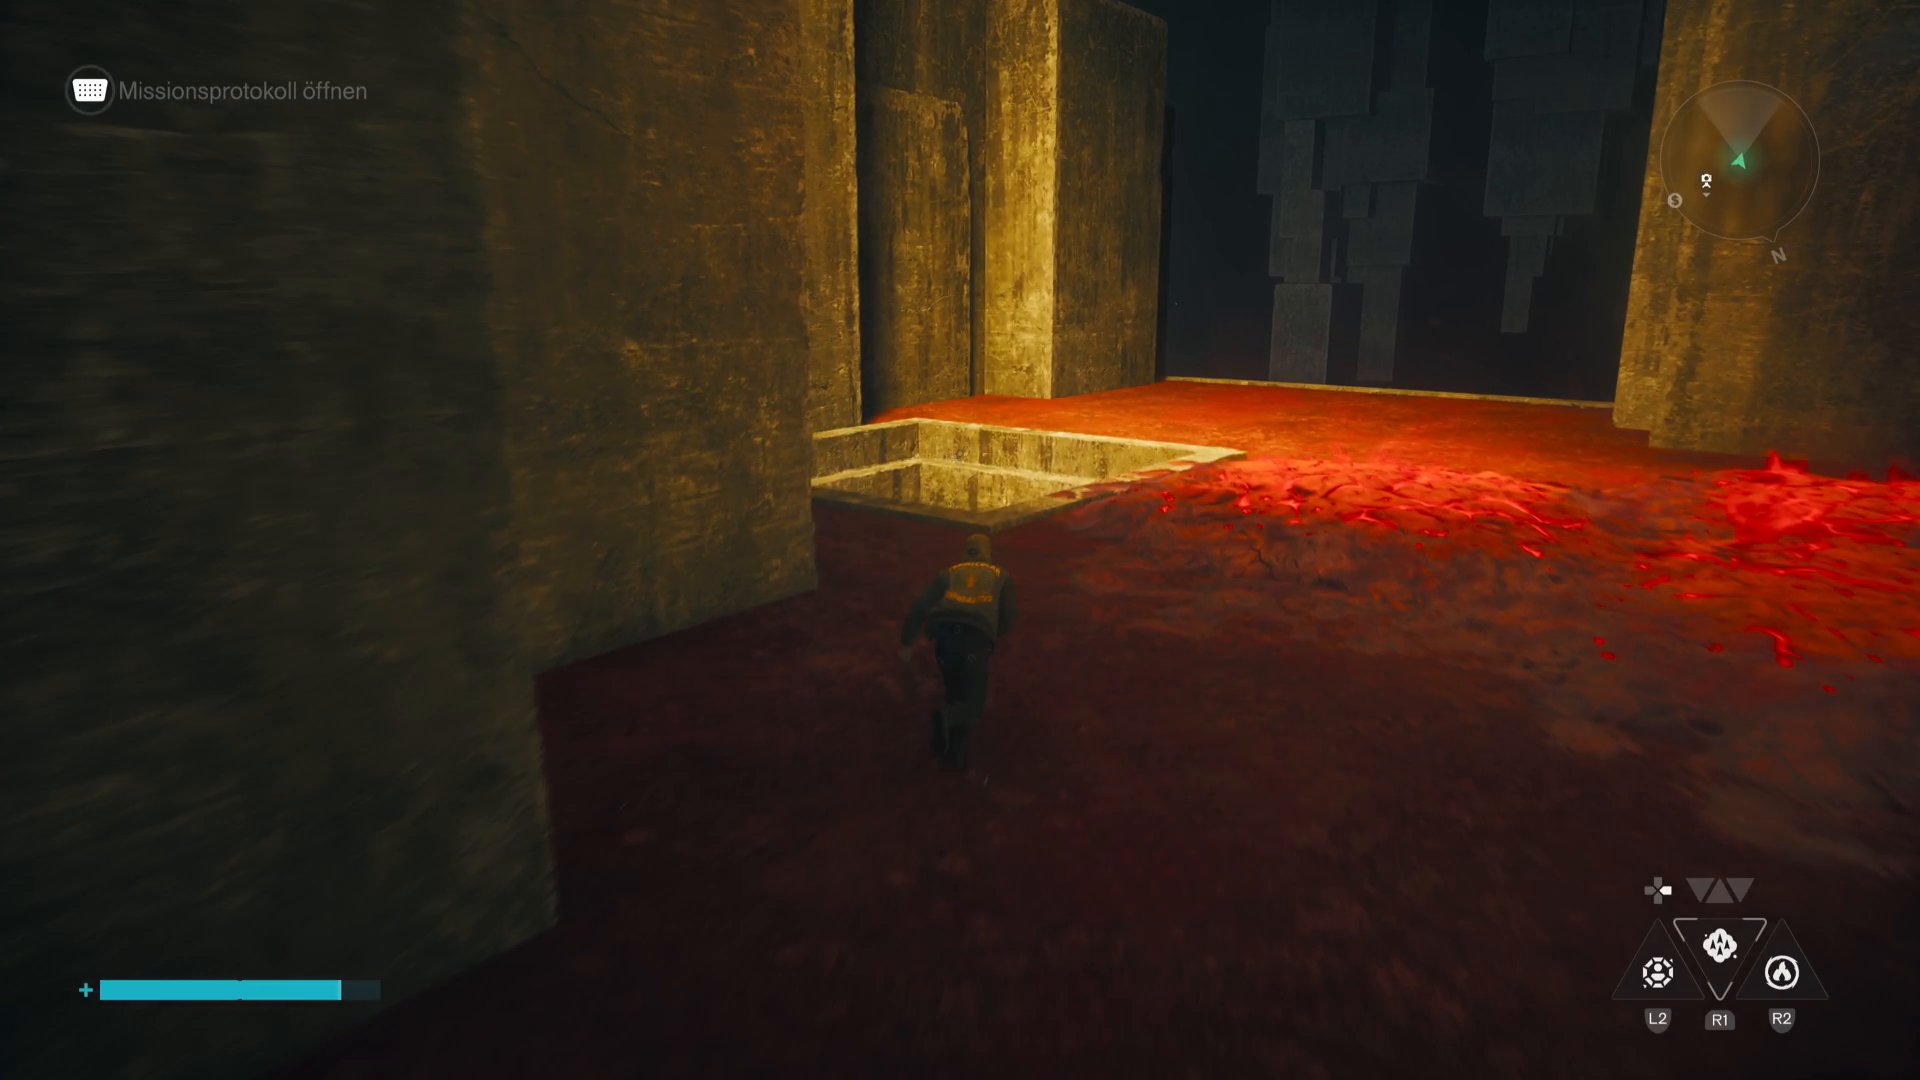
The camera looks out of a yellow-lit corridor on the northeast island. Stay as far to the left of the platform edge as possible so that you are not discovered. Then look down and use the grab point. There you will discover a hole in the ground that leads you directly behind the camera.
Camera #12 (Underpass)
» Watch video: Control Resonant: Camera #12 (Underpass)
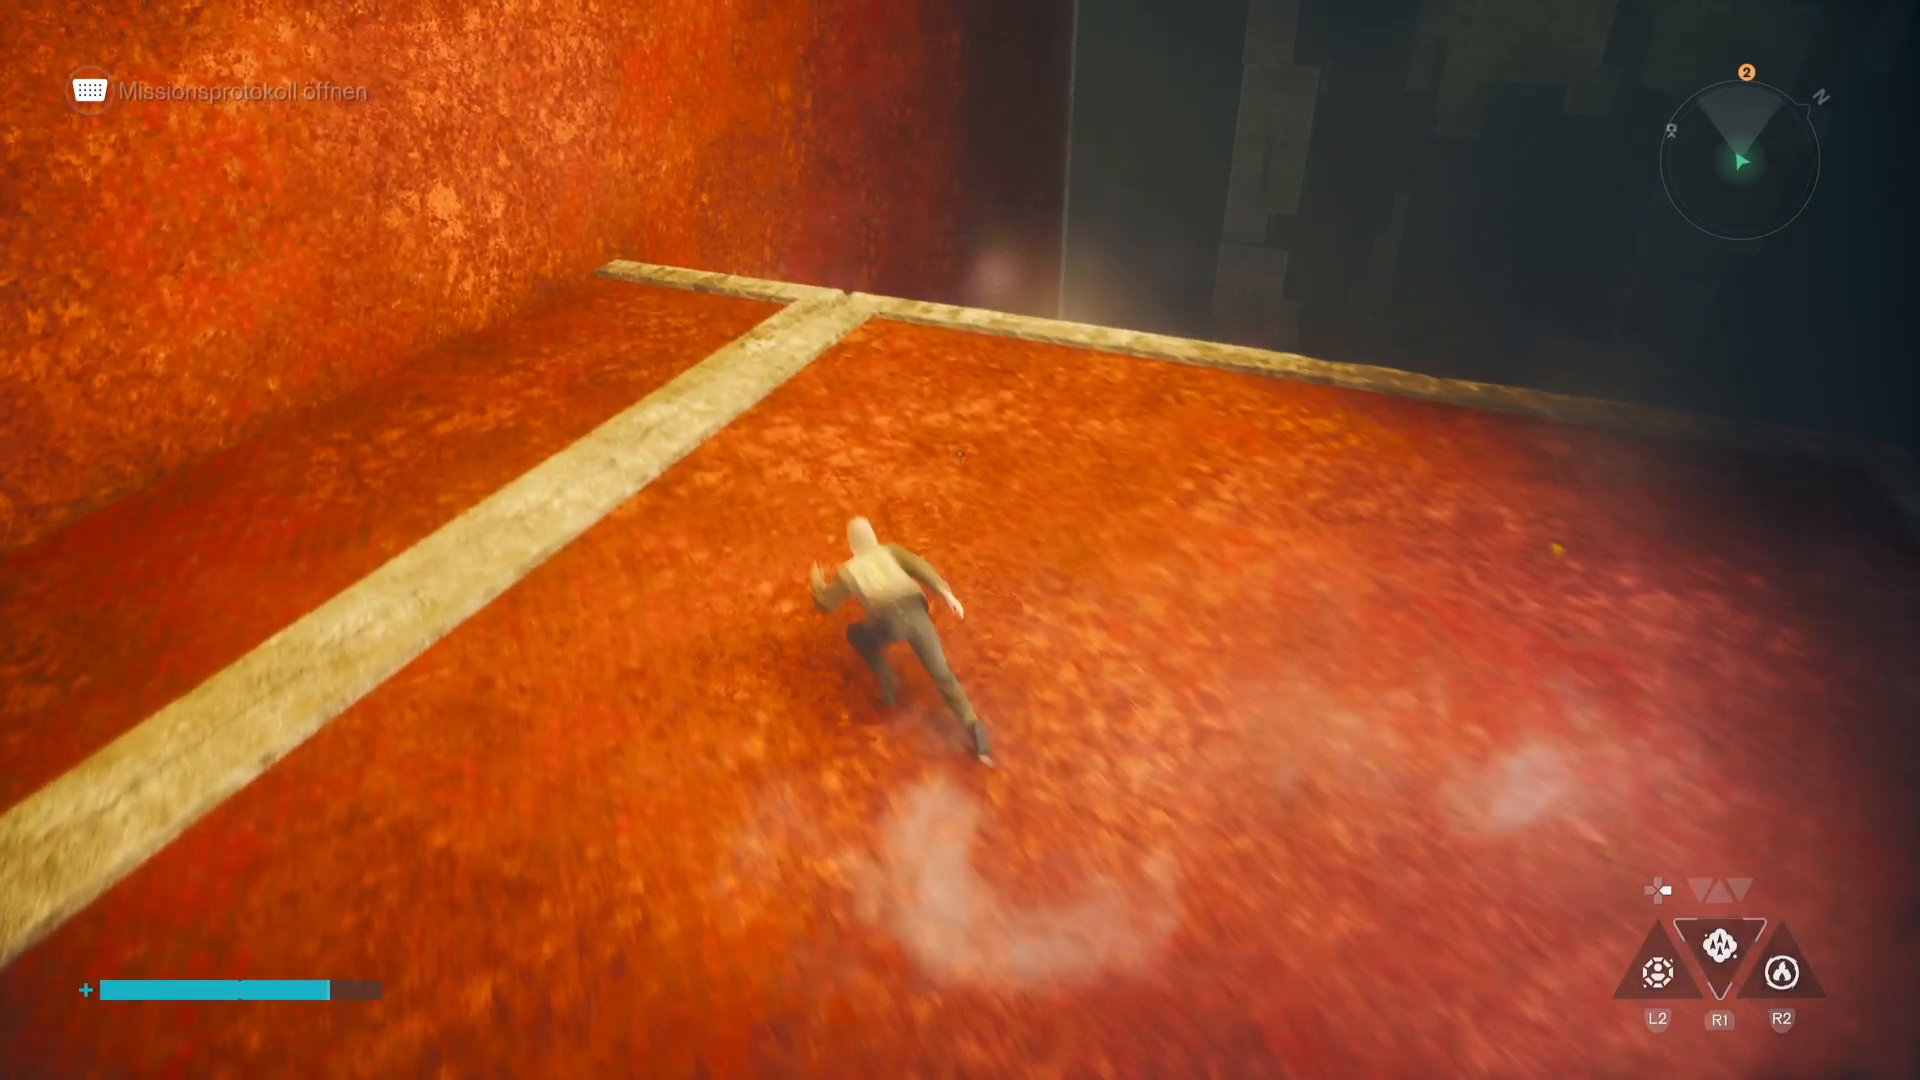
This camera sits in a wall south of the Rohrinsel in an area full of mold. There is another opening opposite the camera wall. Use the gravity shift and follow the red floor path until you can fall through the opening at the top. From there you can go directly to the camera area.
Camera #13 (Unknown)
» Watch video: Control Resonant: Camera #13 (Unknown)
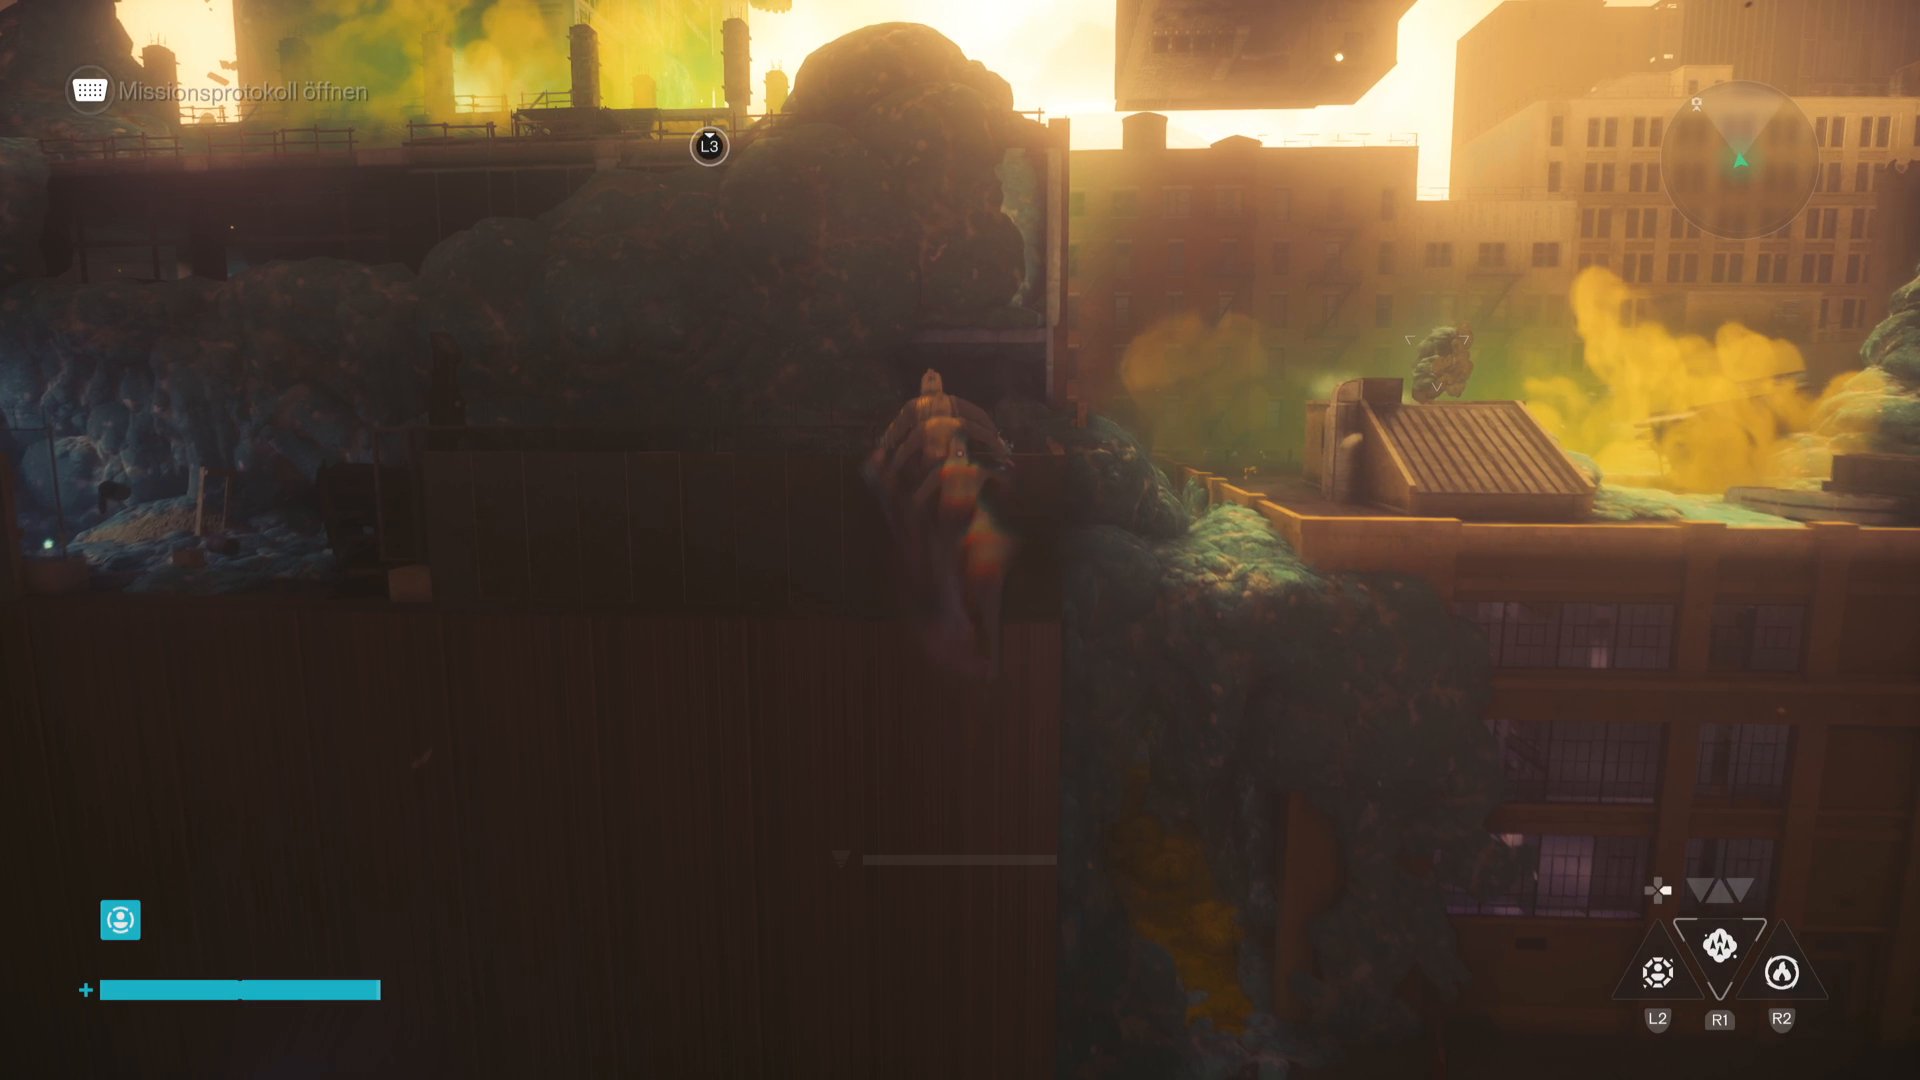
The camera is hiding on a construction site behind a small hole in blue mold. Enter the main building of the construction site and go down the stairs. Below you will be attacked by fungus enemies. After defeating them, you can get behind the camera in the same room.
Camera #14 (Unknown)
» Watch video: Control Resonant: Camera #14 (Unknown)
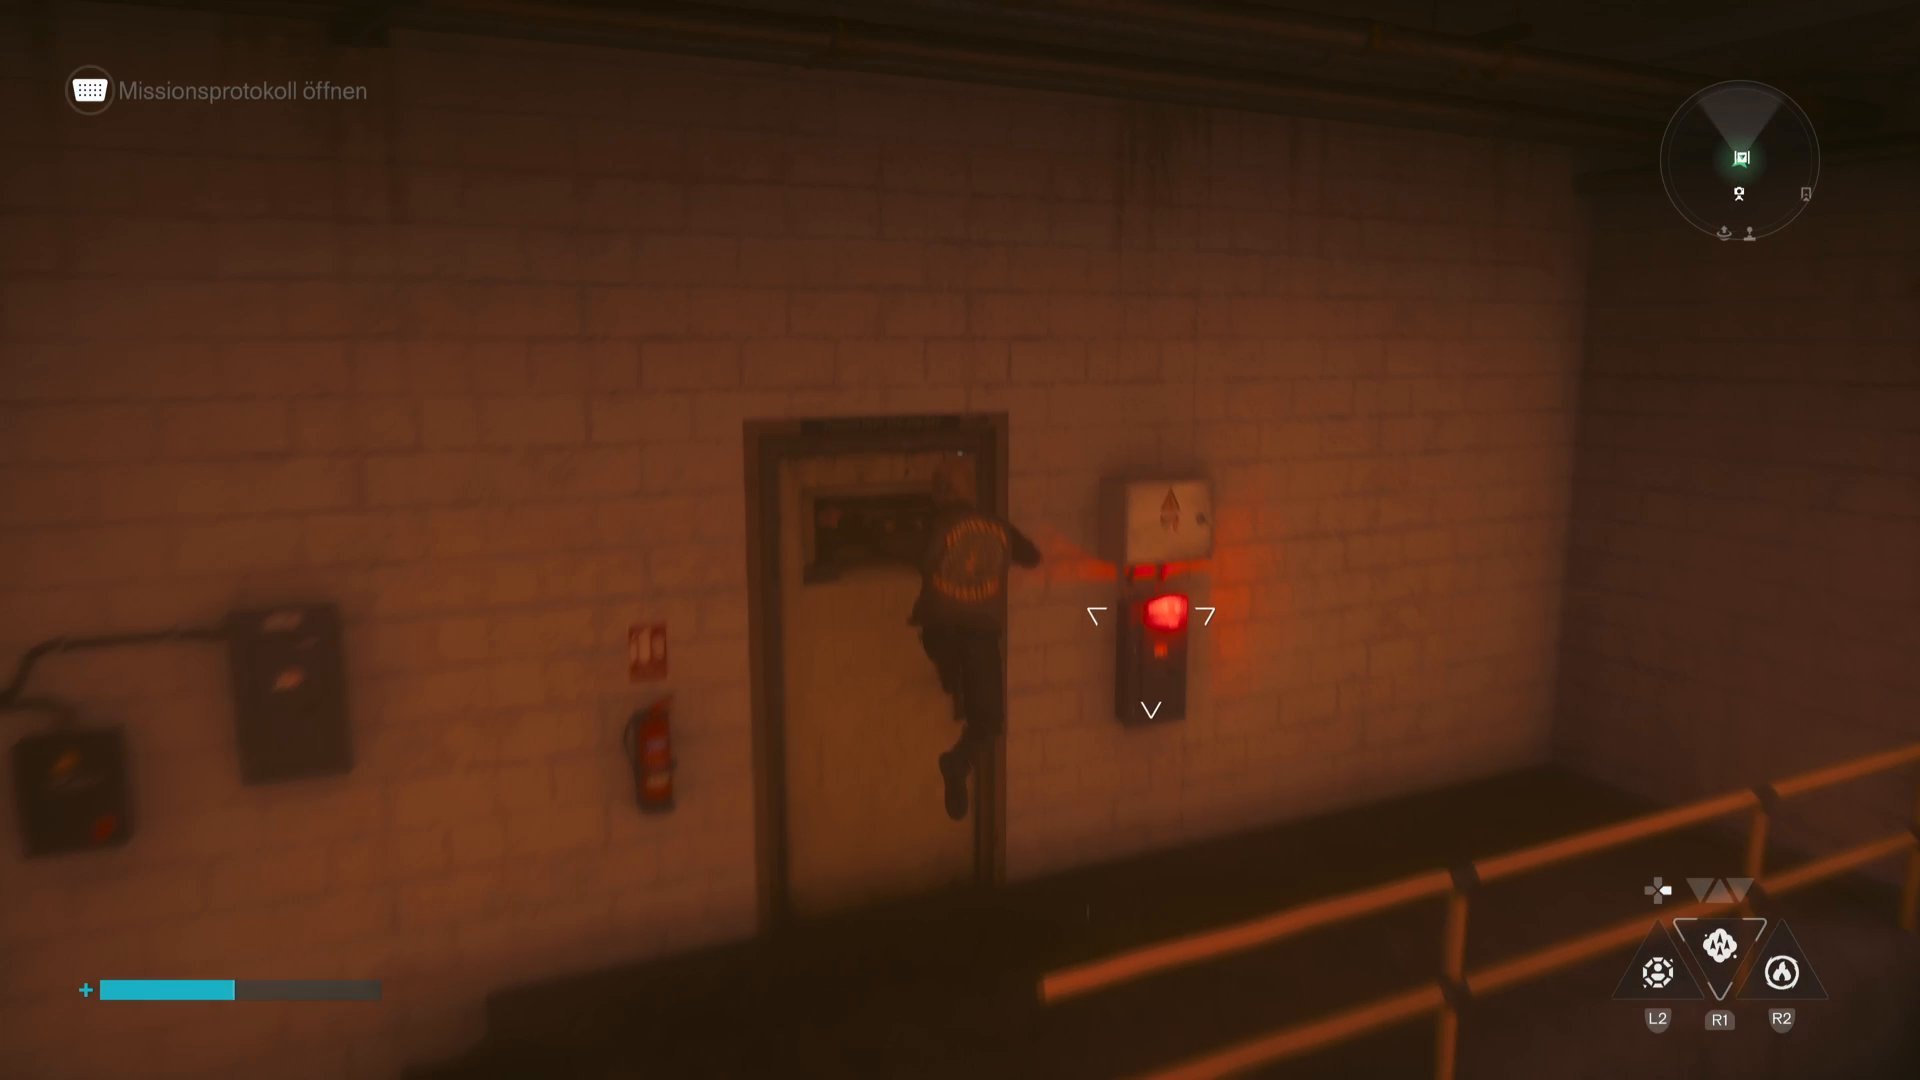
The last camera is in place in a shop. First let yourself be discovered and then go to the shop behind the camera. In the attached garage area you will find a red button for the garage door. Open the gate, move away until you hear the clicking sound and then return through the garage to get behind the camera.
Final task: Disable all cameras in downtown
» Watch video: Control Resonant: Disable all cameras in Downtown
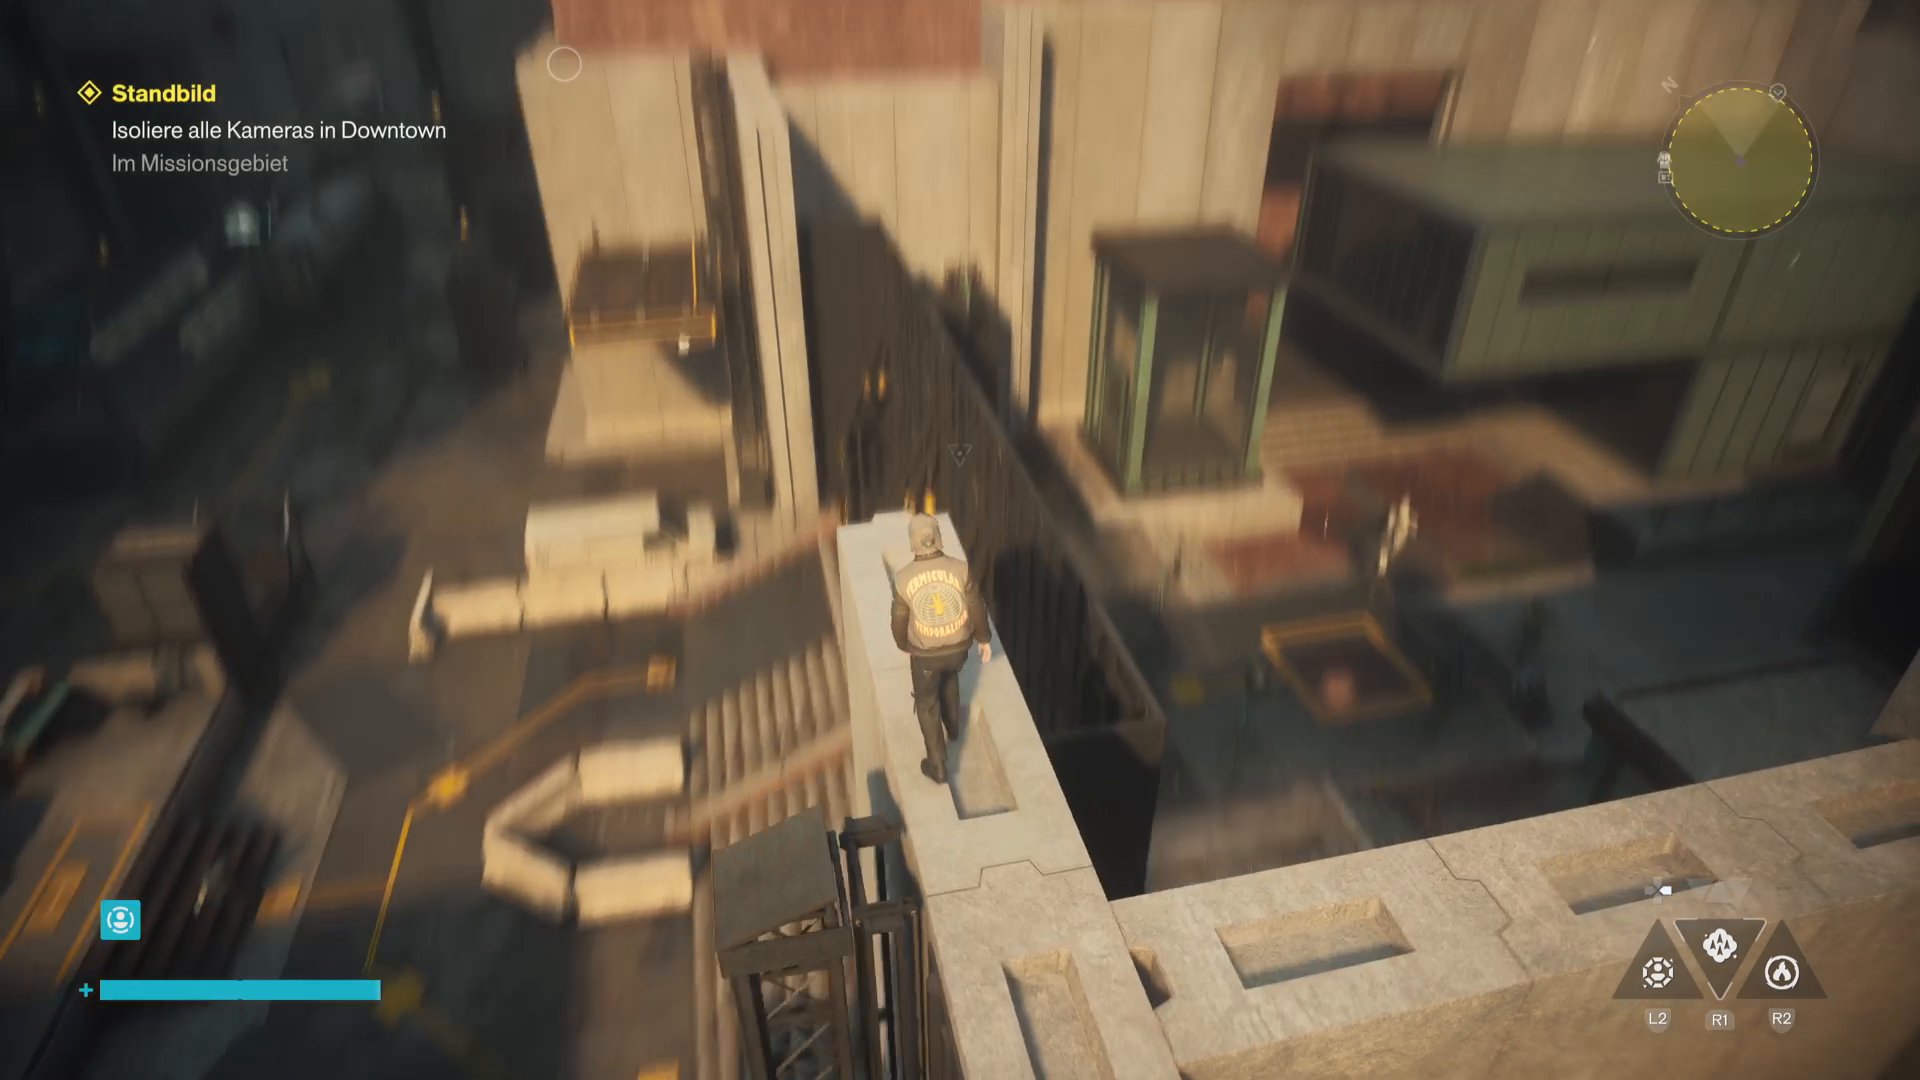
Once you have found all 14 cameras, you will receive a call. You then have to return to downtown and turn off all cameras in the marked quest area.
The rules remain the same: Always sneak up from behind. If a camera detects you, the entire section will be reset and you will have to deactivate all cameras again. In addition, the cameras repeatedly appear at different positions within the marked area.